Ever wonder if your computer’s graphics card could help you earn extra money through crypto mining? GPU crypto mining uses your computer’s graphics processor (the part of your computer that handles visual tasks) to solve complex math problems and unlock coins. Imagine it like a top-notch chef in your machine, whipping up coins with each calculation.
In this guide, we break down how to mine smarter. We’ll walk you through simple steps, useful tips, and the trade-offs involved. By choosing the right hardware and managing your energy use wisely, you can set up a mining system that works efficiently. It might just be the boost your income needs.
GPU Crypto Mining Fundamentals: How It Works, Profitability & Hardware Overview
GPU crypto mining uses graphics cards to solve tough puzzles by crunching many numbers at the same time. Think of a GPU like a busy chef with many hands, all working at once to get multiple dishes ready. This setup makes GPUs much faster than CPUs, which handle one task at a time.
When it comes to mining Bitcoin, specialized machines called ASICs often have the edge, but GPUs really shine with other coins. They can switch between different tasks, much like a chef changes recipes to use the freshest ingredients, which can help boost your profits.
Several factors drive mining profits. These include how hard it is to solve the puzzles (network difficulty), the speed at which your GPU works (hash rate), the cost of electricity per kilowatt-hour, and the current prices of cryptocurrencies. For example, a GPU that works faster per unit of energy can deliver better energy efficiency and higher returns.
In short, GPU mining means balancing the initial cost against the power of many tasks handled at once. It’s a smart play for those who want to take advantage of modern mining techniques without the limitations of a single-use tool.
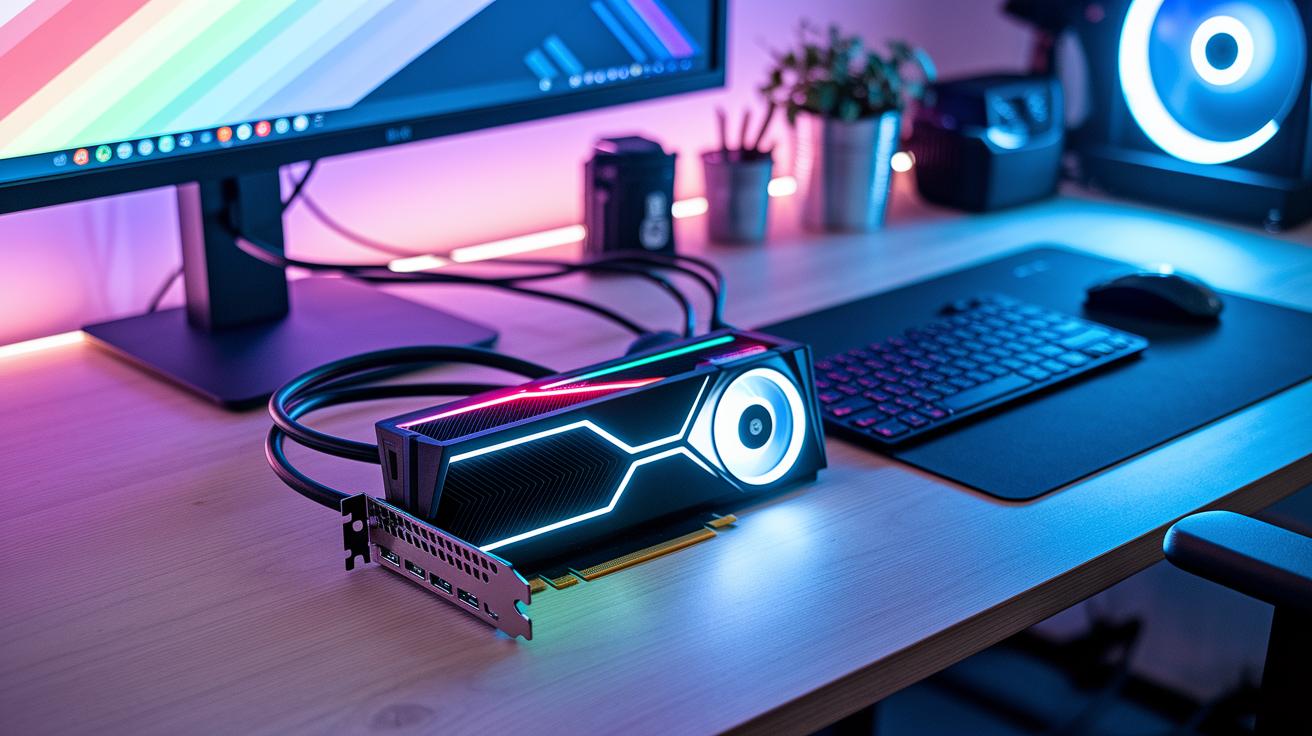
Graphics Card Selection Criteria in GPU Crypto Mining
When it comes to crypto mining, picking the right graphics card is all about three main things: hash rate (how many calculations the GPU can do in one second), power consumption, and cost. A higher hash rate means the card can crunch through more numbers quickly – like how the NVIDIA GeForce RTX 4090 can hit about 130 MH/s. And when a card uses less power, it can help lower your electricity bills, so checking the wattage is just as important.
It helps to simply test each card under load. Running a stress test for an hour shows you if the card can keep up the same hash rate and manage power use well. In other words, spend a little time tracking the average hash rate to see if the GPU meets your expectations. Comparing these numbers means you’re more likely to invest in a card that works fast without wasting power.
Cost is another big part of the decision. Sometimes, a card with top-notch hash rates and low power use might come with a higher price tag. Knowing your mining goals and how much you want to spend will guide you towards a card that strikes the right balance. It’s a good idea to look at user reviews and test data, so you get both speed and efficiency for your buck.
| GPU Model | Hash Rate (MH/s) | Power Draw (W) | Approx. Price $ |
|---|---|---|---|
| NVIDIA GeForce RTX 4090 (Ada Lovelace) | 130 | 450 | 1600 |
| NVIDIA GeForce RTX 4080 SUPER | 90 | 320 | 1100 |
| AMD Radeon RX 7900 XTX | 90 | 350 | 900 |
| AMD Radeon RX 7900 XT | 85 | 300 | 800 |
| NVIDIA CMP 170HX | 165 | 250 | 1500 |
| NVIDIA RTX A5000 | 70 | 250 | 1000 |
| NVIDIA GeForce RTX 4070 Ti SUPER | 85 | 300 | 900 |
| NVIDIA GeForce RTX 3090 Ti | 110 | 400 | 1800 |
Test your chosen card under real mining conditions to track how stable it is and how it handles power use. This way, you can feel confident that it will keep performing every day.
Rig Configuration & Setup Guide for GPU Crypto Mining
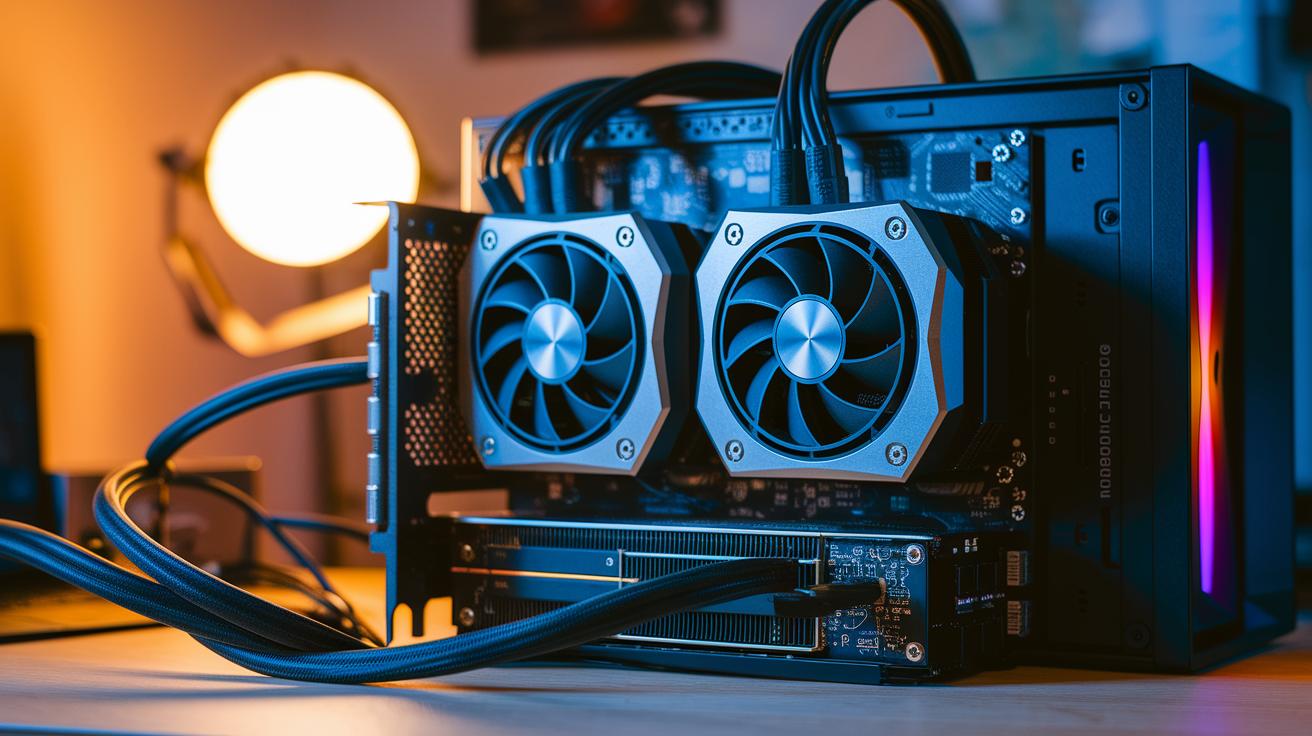
Hardware Assembly
First, make sure your GPUs fit into the right slots. Most GPUs go into PCI-E x16 slots, though some rigs can also use PCI-E x8 slots. Double-check your motherboard to find the best spot for your mining setup. Once your GPUs are in place, secure them with the correct mounting brackets and leave enough space for the fans to cool properly. Next, hook up the power cables for each GPU and connect them to the rest of your system. A steady power supply is essential because a loose connection can lower your rig’s performance. Before moving on, adjust your motherboard’s BIOS settings by turning on 4G decoding so that every GPU is recognized. It may seem like a small detail, but this tweak can mean the difference between smooth running and unexpected downtime.
Software & Pool Setup
After your hardware is set up, install the latest drivers for your GPUs to protect your investment. Then, pick a mining client such as PhoenixMiner, GMiner, or T-REX; these options have been proven reliable on both Windows and Linux. Follow the prompts during installation and tailor the settings to meet your mining goals. After that, join a well-established mining pool. Most of these pools charge about 1–2% in fees, which can help even out your earnings. When you add your pool details, take a moment to double-check everything to prevent any mistakes. Finally, set up monitoring tools that track your rig’s hashrate, temperature, and power consumption. Think of these tools as a dashboard offering real-time updates so you can quickly fix any issues and keep your mining sessions running efficiently.
Extraction Profitability Analysis & ROI Calculation in GPU Mining
Calculating your mining returns starts with getting to grips with the revenue formula. Think of revenue as your hash rate multiplied by the time your rig runs, then by the block reward, and finally by the coin price. In plain language, revenue equals (hash rate × uptime × block reward) × coin price. But remember, factors like network difficulty (how hard it is to solve a block) and total network hashrate (all the mining power combined) can change things, so it helps to keep an eye on current conditions.
Next, look at the costs that cut into your earnings. Most of your expenses come from electricity, usually around $0.10 to $0.15 per kilowatt-hour, along with any hosting fees or occasional hardware repairs. Keeping track of these expenses is just as important as knowing your revenue because they determine your true profit.
Now, let’s talk about return on investment (ROI) by checking your payback period. This metric is as simple as dividing your initial hardware cost by your daily net profit. Imagine you have a rig running at 100 MH/s mining ETH that brings in about $X a day with an electricity cost of $0.12 per kWh. If your rig cost $3,000, your payback period would be roughly 300 days. It’s an easy way to see how quickly you’ll recoup your investment.
Payback period is key in understanding ROI as it lets you compare different setups on how fast they return your money. This straightforward approach helps you weigh the benefits and costs of various mining strategies so you can pick the one that fits your needs best.
Optimization Techniques for Energy-Efficient GPU Crypto Mining
Undervolting your GPU can really change the game. In simple terms, lowering the voltage cut power consumption by about 10–20% while still keeping hash rates above 95%, hash rate being the speed at which your system processes crypto puzzles. One miner even mentioned that after tweaking his GPU’s voltage, his electricity bills dropped without sacrificing nearly full performance.
Custom fan curves are also key. By setting them to keep temperatures between 60 and 70 °C, your GPU avoids overheating yet continues to perform well. Think of it as fine-tuning a car’s cooling system so it runs smoothly, even when pushed a bit harder. Balancing undervolt settings with a modest overclock helps find that sweet spot where energy use is low, but processing power stays robust.
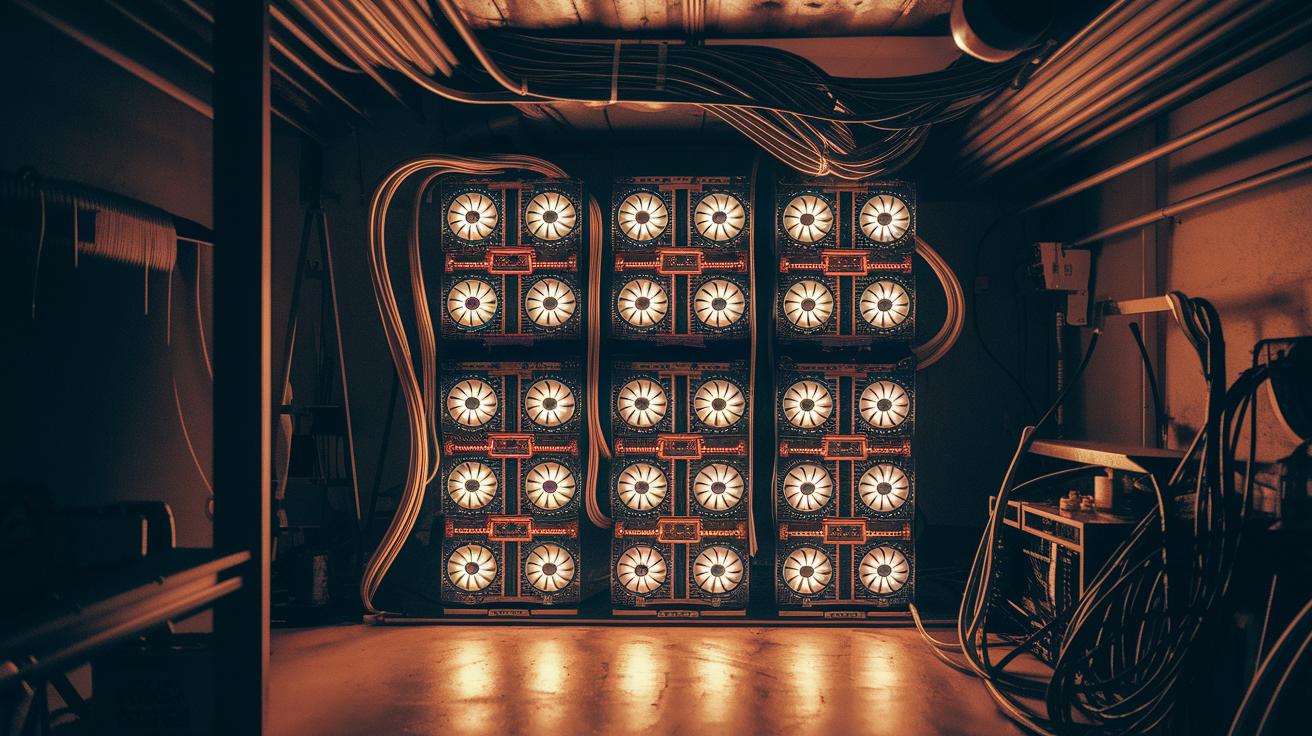
Next, try experimenting with different cooling layouts. Open-air frames can boost airflow and lower operating temperatures, though they tend to be noisier than closed, enclosed rigs. Each option comes with its own trade-offs in noise and airflow. Also, make sure to keep your mining hardware up-to-date by regularly installing firmware and driver updates, which often pass along subtle stability improvements and even better efficiency. Routine checks and small adjustments not only trim your electricity bills but also extend your GPU’s lifespan, making your mining operation both cost-effective and reliable.
Hardware Cost Evaluation, Maintenance & Lifespan in GPU Crypto Mining
When you buy GPUs for mining, keep in mind that these graphics cards can lose around 20 to 30 percent of their value after just one year of heavy use. This drop means you have to think ahead about upgrading or even selling parts later on. By watching the prices closely, you can choose the best time to sell or switch to newer models so your mining setup stays in top shape.
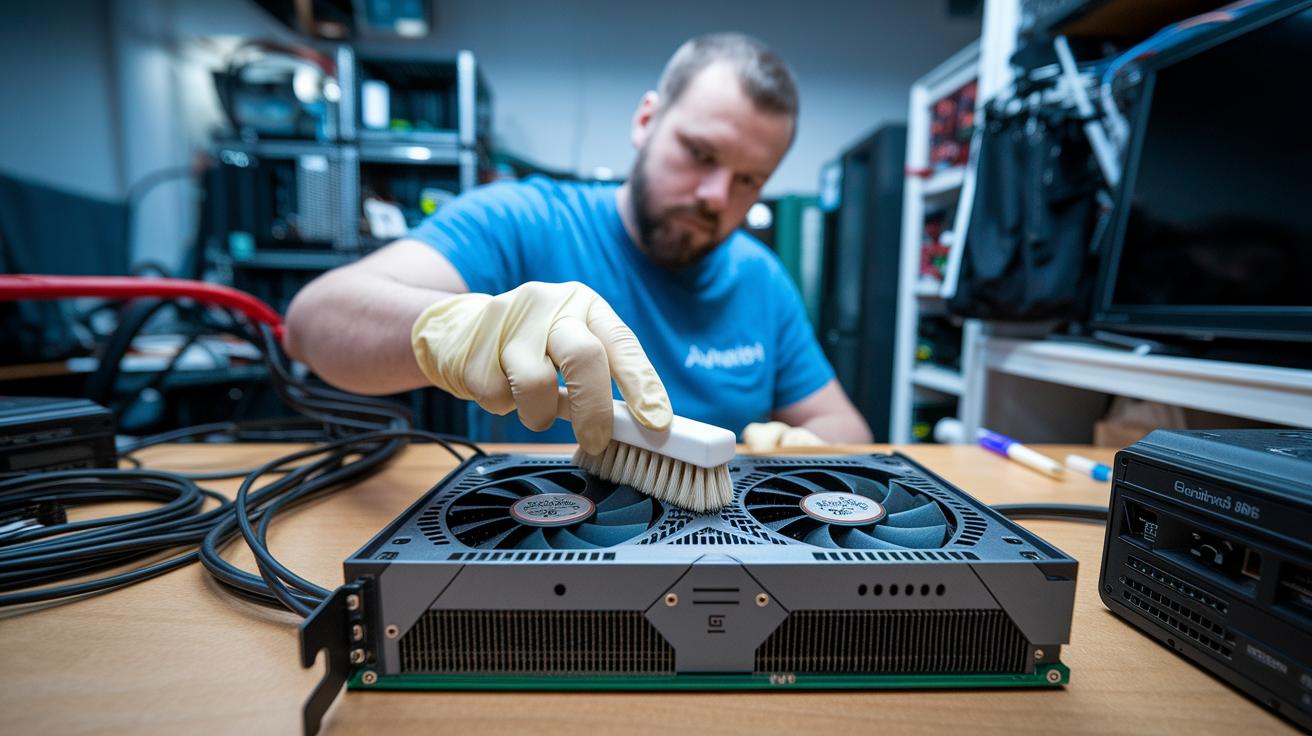
Taking care of your mining hardware is really important too. Simple tasks like cleaning the fans and freshening up the thermal paste every 6 to 12 months can prevent problems like overheating or slowing down (thermal throttling, which is when the hardware slows itself down to cool off). Dusting off your system can work wonders, too, by keeping everything cooler and more efficient. Because running your mining gear 24/7 wears out parts like fans and voltage regulators (VRMs, the components that help manage power), it's smart to set aside some money for occasional fixes or replacements.
Also, planning ahead for resale can really help you manage costs over time. By tracking how your hardware performs and keeping up-to-date records, you can figure out the best moment to sell before the value drops even more. When you factor in loss of value, keep up with regular maintenance, and plan when to sell, you’re much better equipped to handle long-term expenses and keep your mining operation running smoothly.
Advanced Software & Benchmarking Strategies for GPU Crypto Mining
Start by trying out mining clients like PhoenixMiner, NBMiner, and T-REX. These are programs that work with lots of different algorithms (step-by-step methods for solving problems) and include features that help recover quickly if something goes wrong. I even tested PhoenixMiner for an hour and was really impressed by how steady it remained under constant use.
Next, run a 60-minute stress test to see how your system performs. First, test with the default settings, then make some tweaks and run the test again. Record the average MH/s (which stands for mega hashes per second and tells you how fast your system is working) for each test. Think of it like checking how a car runs before and after a tune-up, it shows you exactly how your changes make a difference.
Finally, use dashboards like HiveOS or minerstat to keep an eye on everything in one place. These tools show key numbers such as hash rate and temperature in real time, so you can adjust things right away. They also use models that look at trends in mining difficulty and price forecasts (predictions based on current data) to estimate earnings over 30- and 90-day periods. This way, you get clear, data-driven insights to help plan your mining strategy.
Final Words
In the action, we dove into gpu crypto mining by breaking down hardware selection, rig configuration, and ROI calculation. We looked at power consumption, energy efficiency tweaks, and maintenance costs, all in clear, everyday language. This discussion offered step-by-step insights into choosing the right graphics cards and setting up mining rigs. Keep testing practical tweaks and relishing the thrill of evolving market trends. Stay confident, there are plenty of opportunities ahead in gpu crypto mining.

