Have you ever thought that building a bitcoin mining rig guarantees success? Think again. It takes smart planning, from checking local power rates (the cost of electricity in your area) to picking the right hardware. Picture creating a powerful computer that turns everyday energy into digital earnings.
In this guide, we walk you through every step in simple, clear language. Even if you're just starting out, you'll soon understand what it takes to launch your own mining venture.
Key Steps to Building a Bitcoin Mining Rig
Start by doing your homework. Look up local power rates and check hardware availability so you can pick the best spot for your mining rig. In 2025, you’re likely to spend about $1,300 to $1,500, whether you choose CPUs, GPUs, or those special ASIC chips (designed specifically for mining). Think of it like comparing prices between high-performing GPUs and energy-efficient ASICs before you jump in.
Next, choose your hardware with care. Focus on key details like the hash rate (how fast your machine can mine), power consumption per terahash (a measure of efficiency), and warranty info. Here’s a simple checklist:
| Step | Tip |
|---|---|
| CPUs | Consider them, but lean towards GPUs or ASICs for better performance |
| Vendor Reviews | Compare prices and read reviews |
| Warranty | Check support info and warranty details |
Then, get ready to build. Assemble your components carefully. Mount the motherboard, attach the CPU with precision, secure your heatsink, and slot in your RAM, all on a static-free surface. Picture it like setting up your everyday computer, just with extra cooling for the heavy work ahead.
After putting everything together, it’s time to install your software. Load up your mining operating system, update your drivers, and set up your mining software without delay.
Finally, run live tests to make sure your rig is running smoothly. Keep an eye on performance stats like hash rate and system stability to be sure every part is working as it should before moving forward.
Hardware Selection for Your Bitcoin Mining Rig
Picking the right hardware for your mining rig is a big deal. You’ll want to weigh your options between GPUs and ASICs. GPUs let you switch between different coins easily, while ASICs are built to deliver faster hash rates (the speed at which your system cracks mining puzzles) and use power more efficiently. A lot of miners have found that a smart choice in ASIC often leaves common GPUs trailing when you’re in it for the long haul.
When you’re looking at GPUs, remember that being able to mine multiple digital currencies can really pay off in a market that keeps changing. Look closely at the cost-per-terahash, basically how many hashes you get for every unit of energy you spend, and don’t forget to check out the warranty. These little details can save you a ton of hassle later on.
ASICs, on the other hand, bring their own strengths to the table. They focus on peak performance and are super energy efficient. It might mean spending a bit more upfront, but you could end up saving on energy bills over time.
So, as you plan your setup, make sure you review every piece of hardware with a careful eye. Compare things like hash rate, power draw, cost, and warranty details. For instance, a GPU might be great for short-term flexibility, while an ASIC could lock you into solid, long-term performance. In some cases, mixing both might be the best route if you’re after both steady performance and the ability to adapt as markets change.
In the end, looking at these trade-offs helps you build a balanced mining strategy that fits your budget and hits your performance goals.
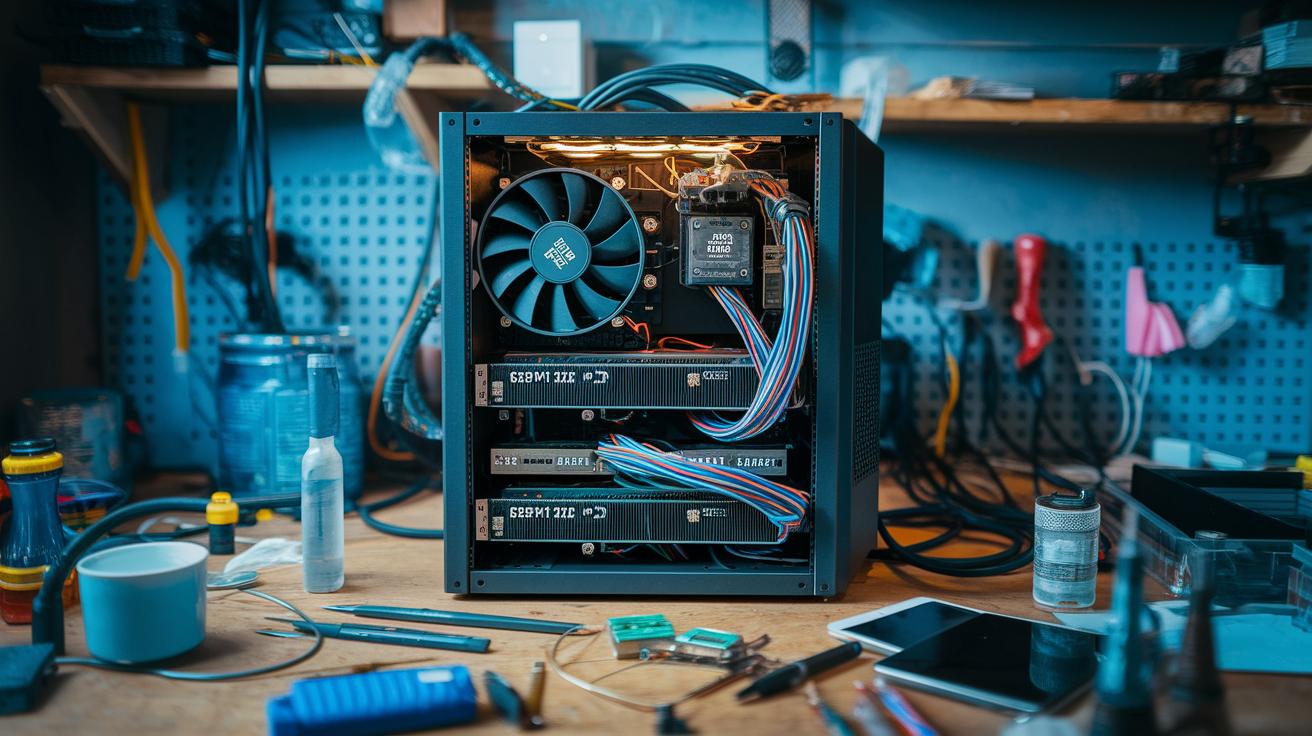
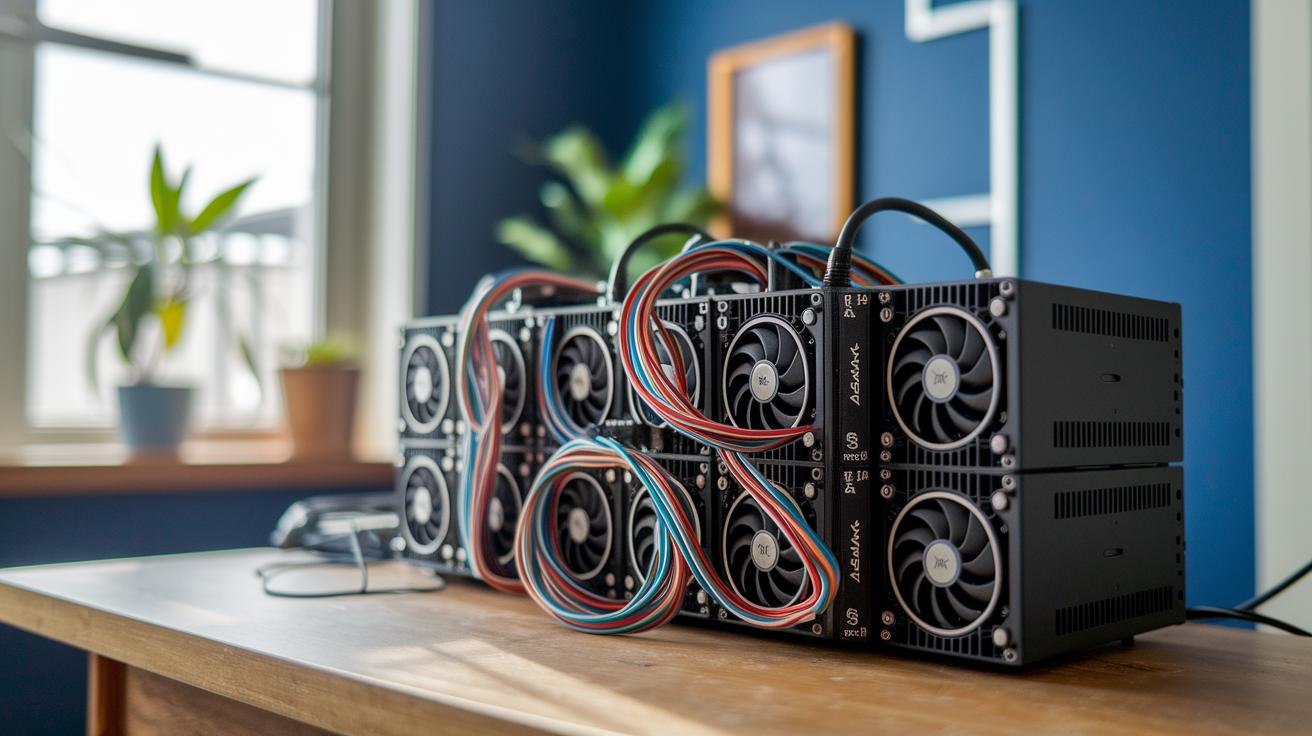
Assembling the Mining Rig: Frame, Motherboard, and GPUs/ASICs
First, set your motherboard on a static-free surface to keep its delicate parts safe. Open the CPU socket lever, carefully place the CPU in its spot, and secure it. When you later attach the heatsink and fan, think of it like putting a cooling cap on your processor on a hot day.
Next, click your RAM modules into the memory slots until they’re securely in place. Once you have these basic parts on your board, carefully mount the motherboard onto the lower section of your open-air mining frame. The frame works like a strong skeleton, keeping everything steady and allowing plenty of air to flow around.
Now, position your power supply unit close to the motherboard. Plug in the 24-pin cable to the board and the 8-pin cable to the CPU power connector. Just like you’d double-check that your favorite gadget’s plug is secure, make sure every cable fits snugly.
After the main parts are set, install your PCIe USB risers. These help connect your GPUs or ASICs, spread out the heat, and keep each card working well. It’s wise to double-check that each component is well seated and lined up properly.
Finally, mount your storage device, whether it’s an SSD or HDD, by using the SATA 3 data cable and matching power cable from the PSU. Here's a simple reference table to guide you:
| Component | Action |
|---|---|
| Motherboard | Set on a static-free surface; attach CPU, RAM, and cooling system |
| PSU | Secure 24-pin and 8-pin cables |
| PCIe Risers | Install to support GPUs/ASICs |
| Storage | Mount SSD/HDD using SATA data and power cables |
Follow these steps, and you'll have a stable, well-ventilated rig ready to go.
Software Installation and Pool Connection for Your Bitcoin Mining Rig
After you’ve assembled your hardware, choose a mining operating system that suits your rig’s needs. A lot of miners prefer a well-known Linux version designed specifically for mining. Fun fact: many miners used to spend hours fixing driver problems only to find that a simple update solved everything.
Make sure to install your GPU or ASIC drivers right away and keep them updated. Think of it like following a recipe, you need the right ingredients to get that perfect flavor in your mining setup.
Next, adjust your network settings to cut down on delays. A wired connection is usually the best bet because it reduces lag. You can even set your router to give mining traffic top priority by tweaking the quality of service settings. This step ensures your mining pool keeps getting steady work assignments.
Log in to a mining pool by entering your unique worker names and pool addresses into your mining software. Joining a good mining pool means your rewards are shared among many systems, kind of like being part of a sports team where everyone helps score.
Lastly, set up a secure crypto wallet with extra protection in place. Choose a wallet that automatically gets your mining payouts so you don’t have to manually transfer funds. It’s a bit like checking your bank details before a big purchase, an important step to make sure everything works smoothly.
Following these steps helps your software and network work together seamlessly, making sure all your mined rewards reach your wallet without any hiccups.
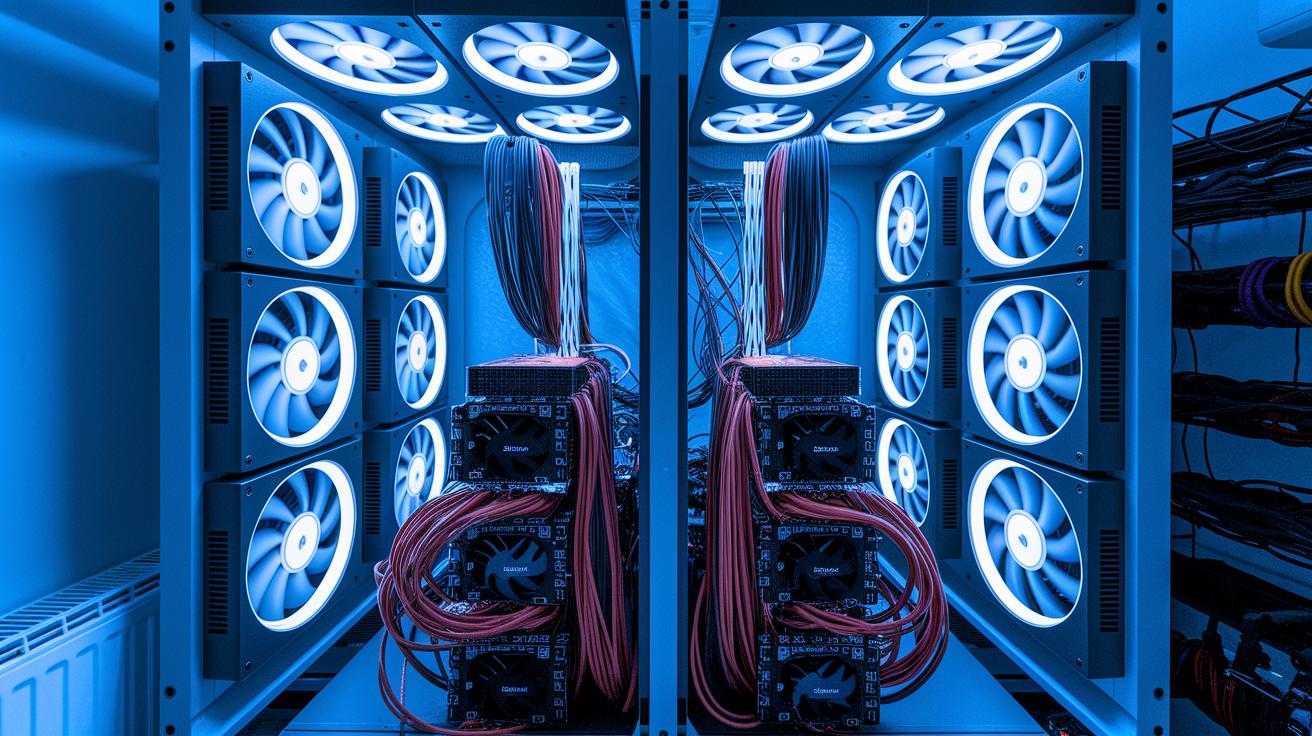
Power Supply and Cooling Solutions for Your Bitcoin Mining Rig
First, make sure you carefully add up your rig’s total power draw. Count every little piece, from CPUs and GPUs to ASIC chips, and then get a certified electrician to double-check that your wiring and circuits can handle the load safely. When you choose the right voltage regulator (a device that keeps power stable), you ensure every part gets steady energy. For example, picking a PSU with 80 PLUS Gold or Platinum certification not only ramps up efficiency but also helps protect your setup.
Next, plan your wiring like a clear, simple blueprint. Secure your cables, steer clear of overloading power strips, and check every connection twice. Think of it like making sure every cord is neatly tucked away before a family gathering.
Cooling matters just as much as power. Overheating can hurt your hardware, so set up a solid cooling system. High-velocity fans boost airflow around packed components, keeping everything cool. And if your rig lives in a warm spot, you might add air conditioning or even liquid cooling loops to get rid of heat faster. Imagine a refreshing breeze on a hot day, that’s the vibe you want for your cooling setup.
Also, pick a place for your rig that stays cool and has plenty of room for airflow. Arrange your system away from heat sources and allow enough space for proper ventilation. Here’s a quick check list:
| Component | Consideration |
|---|---|
| PSU | 80 PLUS Gold/Platinum certification, accurate power draw |
| Cooling | High-velocity fans, AC, or liquid cooling loops |
Performance Benchmarking, Overclocking, and Efficiency Optimization for Your Bitcoin Mining Rig
If you’re aiming for instant success with your mining rig, start by checking its performance. Use simple tools like HWMonitor to watch your hash rate (the speed at which your device solves problems), temperature, and overall system stability. Ever notice a tiny tweak making a big difference? For instance, a small voltage change might boost your hash rate by 5%! Every little adjustment counts.
Next, take a careful approach to overclocking. Tweak your core clocks and voltages gradually, that means changing one setting at a time to see how it affects your rig. This step-by-step method keeps your mining system safe and helps avoid over-heating or instability.
When benchmarking, you’re really looking for a sweet spot between raw performance and energy use. After each change, check how many extra hashes you get per watt of power. And remember, pushing your rig too far can draw more power and disrupt stability.
These performance tips also help you fine-tune your GPU or ASIC settings. A well-adjusted rig runs smoother, gives better output, and protects its parts over time. So, monitor the balance between all components to keep everything running steadily.
Finally, don’t be afraid to experiment with different overclocking methods. Write down your benchmarks so you know which tweaks give the best boost without shortening your hardware’s lifespan.
Troubleshooting and Maintenance for Your Bitcoin Mining Rig
Keeping your mining rig in good shape means paying attention to small details and fixing problems quickly. You might face issues like overheating, a faulty riser (a connector that helps power your cards), or driver conflicts (trouble with the software that manages your hardware). Always make sure every part is firmly in place. For example, if your rig slows down, check if a PCIe riser is slightly loose, it’s amazing how a small tweak can help your system run smoother.
Set up a regular maintenance routine to keep dust away from fans and heatsinks by using compressed air. This simple step not only stops overheating but also makes your hardware last longer. And keep an eye on your firmware updates by following the manufacturer’s instructions, so your system benefits from the latest improvements.
Whenever you notice any errors or odd behavior, write them down right away. Logging details like specific error messages or unexpected performance drops can really speed up troubleshooting if the issue happens again. Consider using a simple checklist to keep track of your tasks:
| Task | Frequency |
|---|---|
| Check component seating | Weekly |
| Clean dust off hardware | Monthly |
| Firmware updates | As per manufacturer guide |
| Log error diagnostics | After each incident |
Following these easy steps will help you reduce downtime and keep your mining setup reliable.
Cost Analysis and ROI Estimation for Bitcoin Mining Rigs
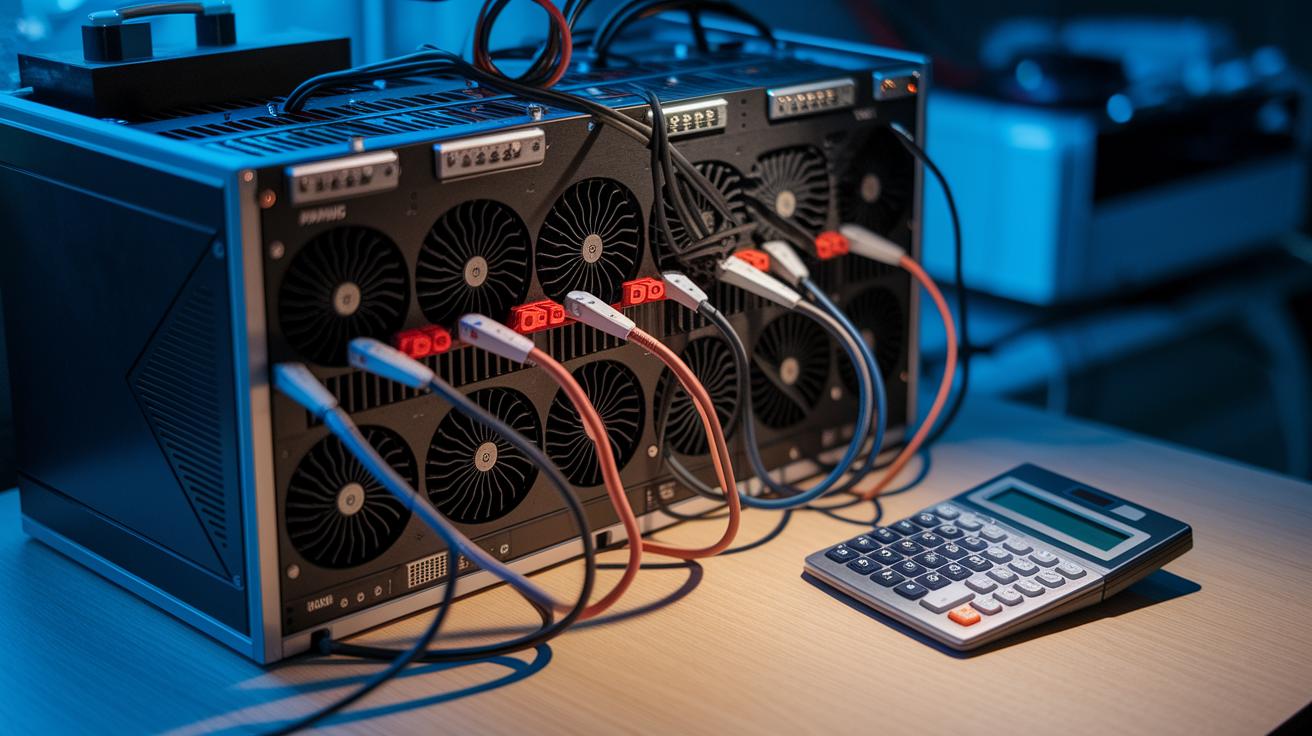
Calculating your Return on Investment (ROI) is really about comparing what you paid for your hardware against the costs you incur every day. Think of it like this: break-even happens when your hardware cost is divided by the difference between your daily earnings and your daily electricity bill. For instance, if your mining rig costs about $1,400, earns around $12 each day, and uses $4 worth of electricity, then 1,400 divided by (12 minus 4) equals roughly 175 days to break even. Many new miners are surprised to find that a well-planned ROI can lead to profits in under six months!
Next, consider the different coins, like Bitcoin (BTC), Monero (XMR), or Dogecoin (DOGE). Each coin has its own mining traits, and a profitability calculator is really handy here. These tools usually ask for your hash rate (the speed at which your rig processes data), your power draw, and your local cost per kilowatt-hour. This gives you a clear snapshot of how much you could earn in net profit.
Let's look at an example:
- Hardware Cost: $1,400
- Daily Revenue: $12
- Electricity Cost per Day: $4
- Daily Profit: $8
- Break-even Time: Approximately 175 days
| Factor | Example Value |
|---|---|
| Hardware Cost | $1,400 |
| Daily Revenue | $12 |
| Electricity Cost | $4 |
| Daily Profit | $8 |
Keep in mind that pool fees and shifts in market prices can change your final ROI. It’s a good idea to regularly check your cost efficiency and fine-tune your strategy as energy prices or coin values change. With these clear examples, you can confidently estimate your payback period and decide if your mining setup is a smart financial move.
Final Words
In the action, we walked through the five core stages of setting up a bitcoin mining rig, from careful research and smart hardware selection to precise assembly, software setup, and efficient cooling. We also touched on stress testing, simple overclocking, and routine troubleshooting to keep your system running smooth. Each step guides you toward confident, informed decisions in assembling a stable and profitable rig. Stay inspired by these insights and keep pushing forward with positive momentum.
FAQ
How is setting up a bitcoin mining rig discussed on Reddit?
Setting up a bitcoin mining rig on Reddit means users share hands-on experiences, tips, and complete guides, offering real-life advice to improve your build and resolve common issues.
What should beginners know about setting up a bitcoin or crypto mining rig?
For beginners, building a mining rig starts with understanding hardware needs, power requirements, and cooling, reinforced by community tutorials that break down each step clearly.
What is the cost to set up and start mining Bitcoin?
Setting up a bitcoin mining rig typically costs around $1,300 to $1,500 for hardware, with additional ongoing expenses like energy and maintenance affecting the overall investment.
How do you build a Bitcoin mining rig?
Building a bitcoin mining rig involves selecting quality components, assembling GPUs or ASICs on a stable frame, configuring software, and linking to a mining pool for steady operations.
What affects the profitability of a Bitcoin mining rig?
Profitability hinges on factors like hardware performance, energy costs, network difficulty, and regular maintenance, all of which determine how efficiently your rig converts power into bitcoins.
What role does bitcoin mining software play?
Bitcoin mining software connects your rig to mining pools, manages hardware operations, and directs earnings to a secure crypto wallet while optimizing overall performance.
How long does it typically take to mine 1 BTC?
The time to mine 1 BTC varies with your rig’s hash rate and network difficulty, ranging from several months to years, making efficiency and market conditions key variables.
What are some trusted bitcoin mining brands and platforms?
Trusted names include NiceHash, Bitmain, Bitdeer, and Genesis Mining, while platforms like Coinbase and Binance also support mining operations and related financial transactions.

