Ever wonder if setting up contactless payments might be as simple as flipping a switch? Picture giving your customers a checkout that’s not only fast but super secure with just one tap on any Apple device. We’re going to walk through how pairing Stripe with Apple Pay makes the setup feel like a breeze.
We break each step into easy-to-follow parts, so even the trickier parts become clear and manageable. With a focus on speed and safety, you’re about to turn a normally complicated process into one that feels smooth and straightforward.
Integrating Apple Pay with Stripe: A Complete Guide
Let's start by making sure you have everything set up before you turn on Apple Pay. First, you need admin access and must finish essential business checks like KYC (know your customer – a way to confirm identities) and AML (anti-money laundering – rules to prevent illegal funds) tests. This integration works on iPhones, iPads, Apple Watches, and Macs, and it supports browsers that work with these devices. Think of it like opening your browser on an iPad and noticing the clear option to use Apple Pay right away. Once you’re set with your digital certificates and compliance details, you can offer secure, contactless payments with ease.
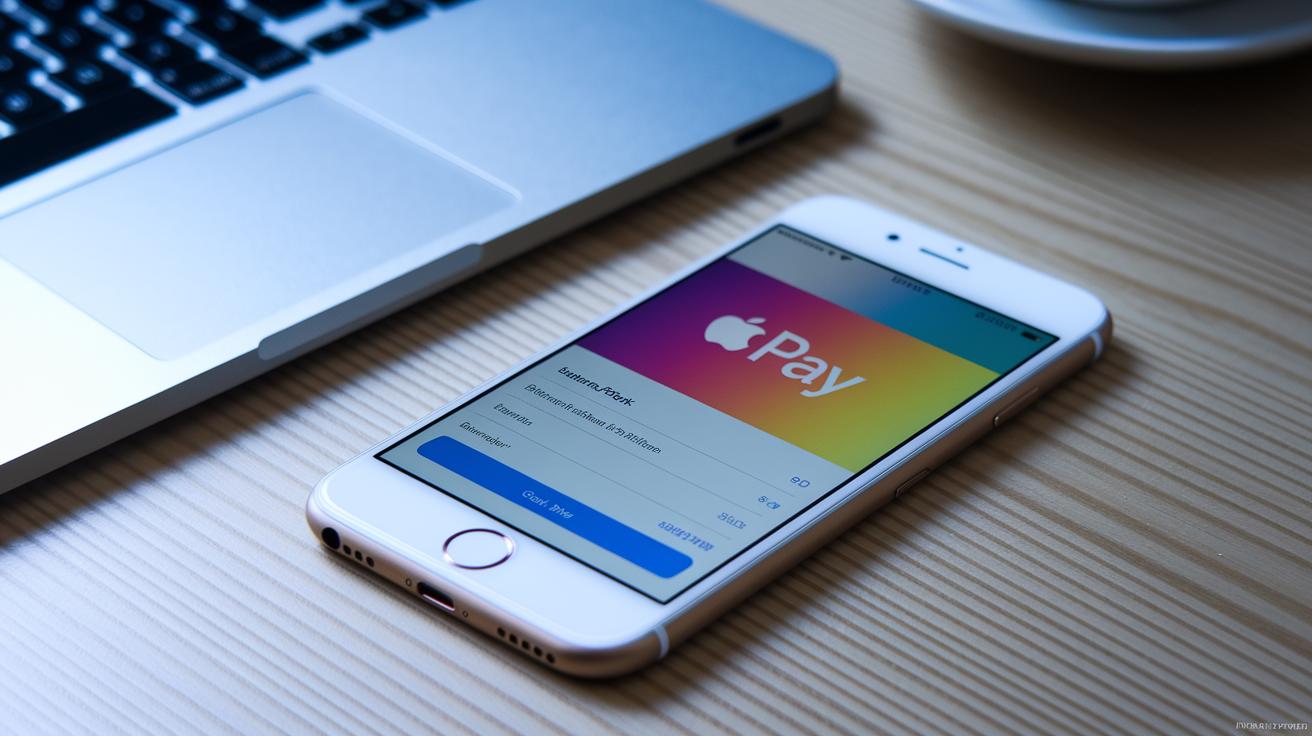
Next, jump into your Stripe Dashboard. Here, you'll find an easy-to-use toggle in the payment settings that lets you enable Apple Pay without any fuss. Log in and look for the clearly labeled option in your payment setup. Just click the toggle – it's as simple as flipping a switch – whether you're using a streamlined sales page or a dedicated checkout page. Once activated, customers with supported devices can choose Apple Pay at checkout. They’ll enjoy a secure process that uses tokenization (which means converting sensitive card details into a secure code) and user authentication to protect every transaction.
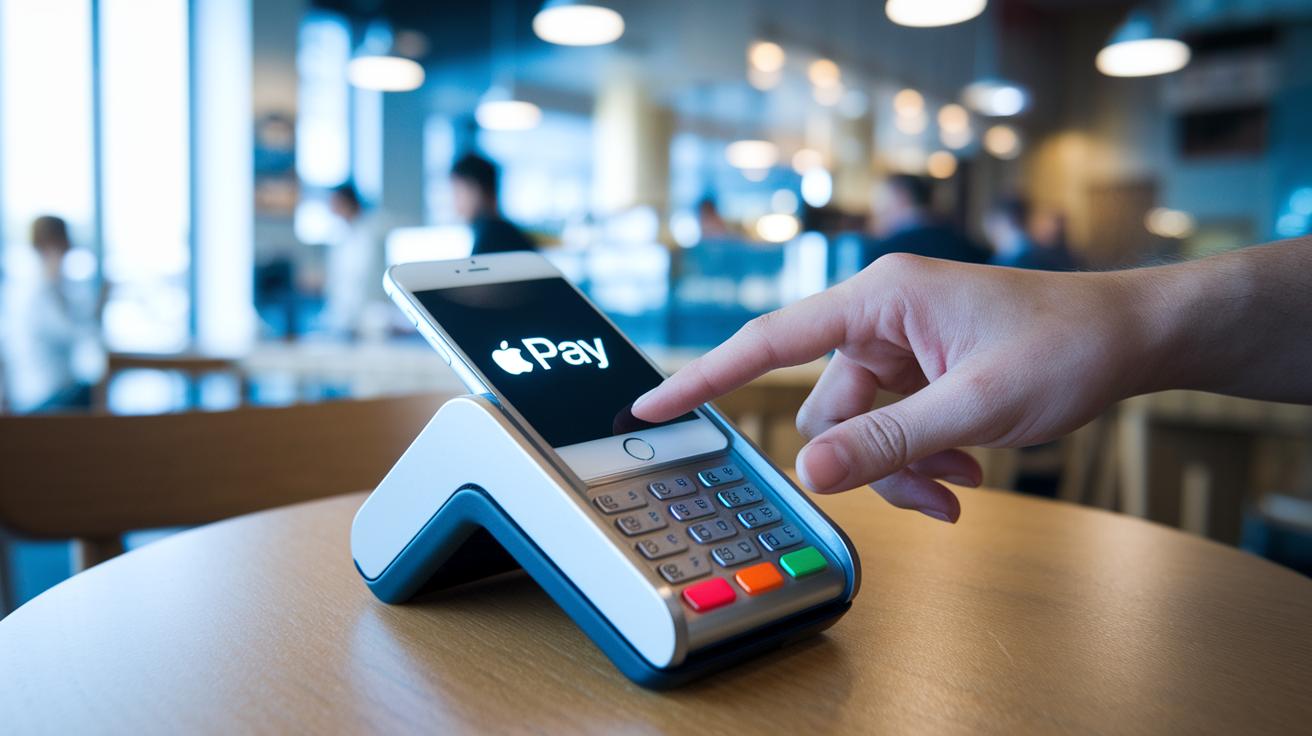
At checkout, Apple Pay shines as a single-tap payment button. When customers pick Apple Pay, they're quickly sent through a brief authentication on their device. The process safely retrieves saved credit or debit card details using tokenization, offering a fast and smooth payment experience. This method helps cut down on delays and reduces the chances of abandoned transactions.
stripe apple pay: Effortless Payment Setup

Before you dive into using Apple Pay with Stripe, you need to handle some paperwork first. You’ll verify your business license and complete checks like AML (anti-money laundering) and KYC (know your customer) that confirm your identity and help stop money laundering. These steps work like a security gate, ensuring only approved businesses get access to top-notch payment tools. You’ll also upload digital certificates to show you’re eligible.
After that, jump into the Stripe Dashboard and upload your Apple Pay certificates while verifying your domain. This tells Stripe that your website or app is cleared for Apple Pay transactions. Think of the certificates as digital badges that prove your transactions are secure, and verifying your domain links everything properly so customers see the Apple Pay button when they shop online.
Also, keep in mind that Apple doesn’t charge any fees for accepting Apple Pay. Instead, a small fee of 0.15% per transaction is charged by the card issuers. With over 85% of U.S. retailers already on board, Apple Pay is quickly becoming a trusted choice for buyers. It’s a simple, cost-effective solution that keeps transactions smooth and gives you a real edge in today’s contactless payment market.
Implementing Apple Pay via Stripe API: Code Samples and Flow
Before you get started, double-check that your API keys and digital certificates are all set. You need Stripe configured with Apple Pay enabled for both quick one-click sales and dedicated payment pages. And don't forget to verify that you’re enrolled in the Apple Developer Program so you can tap into the Apple Pay SDK for in-app payments and use Stripe.js for web checkouts.
Let’s walk through some easy code snippets:
-
JavaScript (using Stripe.js) for web checkouts
For example:
var stripe = Stripe('your_publishable_key');
var paymentRequest = stripe.paymentRequest({
country: 'US',
currency: 'usd',
total: { label: 'Demo Total', amount: 1000 }
}); -
Swift (for iOS) with Stripe’s Apple Pay SDK
For example:
let paymentRequest = PKPaymentRequest()
paymentRequest.merchantIdentifier = 'your.merchant.id'
paymentRequest.supportedNetworks = [.visa, .masterCard, .amex]
// Add more configuration and handling as needed -
Python (backend) to create a PaymentIntent
For example:
import stripe
stripe.api_key = 'your_secret_key'
intent = stripe.PaymentIntent.create(
amount=1000,
currency='usd',
payment_method_types=['card'],
)
In this setup, the process starts with tokenization converting sensitive card details into a secure token. When a customer taps the Apple Pay button, the call to your preferred Stripe API, whether it’s through JavaScript, Swift, or Python, kicks off the creation of a PaymentIntent. This step confirms the transaction and securely exchanges the token on the client side. The whole flow is designed to be smooth, reducing any friction during checkout so buyers enjoy a fast, safe payment experience whether they shop online or at an NFC-enabled terminal.
Security and Compliance with Stripe’s Apple Pay Integration
Apple Pay uses solid, built-in hardware security like NFC, tokenization (which changes your card numbers into secret codes), and the Secure Enclave chip (a small digital vault) to protect your payment details. When you tap your device, tokenization swaps your sensitive card info for a secure code, and each payment uses a unique device account number instead of your real card number. Think of it as wearing digital armor that helps keep your card safe from unauthorized access.
On top of that, Stripe adds an extra layer of safety by encrypting every bit of data with end-to-end TLS encryption. In simple terms, whether you swipe, tap, or click, your data travels through a secure connection, making it hard for anyone to peek in. Stripe also sticks to strict PCI DSS guidelines to manage payment info safely. And to round it all off, merchants complete KYC (Know Your Customer) and AML (Anti-Money Laundering) checks, ensuring the whole process is in line with regulations to protect both businesses and customers.
Testing, Troubleshooting, and Monitoring Apple Pay Integrations on Stripe
First, switch on test mode in your Stripe Dashboard and use the special test cards provided. This lets you run fake transactions with no real money involved, so you can see how Apple Pay performs under different conditions. Try several tests with these cards to experience everything from successful payments to issues like domain verification errors.
Then, take a close look at the error logs in your Stripe Dashboard. These logs give you a clear look at each transaction, highlighting common problems like invalid certificates (when your security certificate isn't right) or domains that don’t match up. When you spot a problem, adjust your settings and try the transaction again, update your certificate or re-check your domain, for instance. Noticing patterns in these errors can really help you fix them and make the checkout process smoother.
Finally, keep an eye on your transactions in real time and make sure your modules update automatically. This approach ensures you get the latest fixes and improvements, keeping your Apple Pay integration secure and running smoothly at all times.
Optimizing Checkout Experience with Apple Pay on Stripe
Performance numbers tell a clear story. Studies show that when you add Apple Pay, conversions can jump by up to 250% on sites like Indiegogo, and checkouts move 58% faster on platforms like Instacart. In real terms, merchants might see up to 82% fewer abandoned carts. Imagine if a checkout page only needed one tap for instant confirmation, just a snap, and the order is set. With 500 million active users around the world, these figures highlight how much better the user experience can be and how revenue can grow.
Customizing where the Apple Pay button sits and how it looks is crucial for a smooth checkout. Merchants can try different spots for the button to match how people naturally browse. For example, placing it near the order summary or keeping it fixed so it stays visible throughout the process can serve as a friendly guide during the final checkout stage. Even small changes like tweaking the button’s color or size help it blend in with your design, making the whole experience easier and more appealing.
Don’t forget to use A/B testing and track your analytics. Experiment with different button styles and placements, and then check your conversion data to see what really clicks with your audience.
Final Words
In the action, our guide detailed how to set up stripe apple pay on various devices. We walked through prerequisites, the Stripe Dashboard process, and live API integration with clear code samples.
We highlighted strong security measures and shared ways to test, troubleshoot, and enhance the checkout experience. With these insights, you can confidently implement stripe apple pay and boost conversion rates. Stay positive and keep your payment processes secure and efficient.
FAQ
Q: What is the Stripe Apple Pay app?
A: The Stripe Apple Pay app refers to the interface that lets merchants accept Apple Pay payments on supported devices. It provides a streamlined payment experience with secure transaction processing.
Q: Why might Stripe Apple Pay not be showing?
A: Stripe Apple Pay may not appear if key settings like domain verification or certificate uploads are incomplete in your Stripe Dashboard. Confirm your setup details to resolve the issue.
Q: How does Stripe support Google Pay along with Apple Pay?
A: Stripe supports both Apple Pay and Google Pay, offering merchants multiple secure payment options. This flexibility helps ensure customers choose their preferred payment method during checkout.
Q: What are the fees for using Apple Pay with Stripe?
A: With Apple Pay via Stripe, Apple does not impose fees on merchants. Instead, card issuers typically incur a fee of around 0.15% per transaction, keeping costs transparent.
Q: How can I use Stripe Apple Pay in Flutter or React Native apps?
A: Stripe offers dedicated SDKs and example code for Flutter and React Native. These tools help developers integrate Apple Pay into mobile apps, making the payment process both secure and streamlined.
Q: What does Stripe Apple Pay on the web involve?
A: Stripe Apple Pay on the web utilizes Stripe.js and a “Buy with Apple Pay” button to facilitate secure, quick transactions. It enables tokenization of card details, which speeds up the checkout process.
Q: Is there an example of a Stripe Apple Pay integration?
A: Yes, examples include using JavaScript to implement Apple Pay buttons on websites and Swift code snippets for iOS apps. These samples demonstrate how to create PaymentIntents and complete transactions securely.
Q: Does Stripe allow the use of Apple Pay?
A: Stripe allows the use of Apple Pay once the feature is enabled by an administrator in the Dashboard. This option supports payments across iPhones, iPads, Apple Watches, and Macs.
Q: How do I test Apple Pay on Stripe?
A: Testing Apple Pay on Stripe requires enabling test mode in the Dashboard, using provided test cards, and reviewing transaction logs. This process ensures your configuration is correct and transactions process smoothly.
Q: How does Apple Pay cost work with Stripe?
A: The cost structure for Apple Pay with Stripe remains straightforward. While Apple Pay itself does not add extra fees for merchants, the card issuer fee—usually around 0.15% per transaction—applies.

