Have you ever thought your ordinary computer might earn crypto on its own? Imagine a mining rig built with a smart setup and top-notch performance putting you straight in the mix.
It’s like joining a team where powerful graphics cards, reliable motherboards, and fast processors all work together to solve tricky math puzzles (these puzzles are the problems that computers solve to earn crypto). In essence, it becomes your personal engine for Bitcoin, keeping the network secure while turning raw computing power into rewards.
Isn’t it amazing how a smart tech setup can really change the game?
Crypto Mining Rig Fundamentals: Definition and Evolution
A mining rig is a custom-built computer that checks transactions on Bitcoin’s network by solving SHA-256 puzzles (these are tough math problems used to secure the blockchain). Miners use this process to add new blocks of transactions and are rewarded with BTC. This work is key to keeping the network safe and decentralized, since many miners work together without a single central boss.
Mining started with ordinary computers running simple programs on CPUs. Think of it like using your home computer for a school project. Then, hobbyists upgraded to using GPUs, which are video cards that handled tougher calculations more quickly, kind of like moving from riding a bike to driving a motorbike.
Today, the game has changed with ASIC hardware. ASIC miners are chips specially designed to solve SHA-256 puzzles fast. They work much faster and handle more work than old CPUs or GPUs. For example, these ASICs can finish tasks hundreds of times quicker than early GPUs. This journey from CPUs to GPUs to ASIC miners shows a clear path of growing power and efficiency in mining technology.
Essential Hardware Components for Mining Rig Assembly
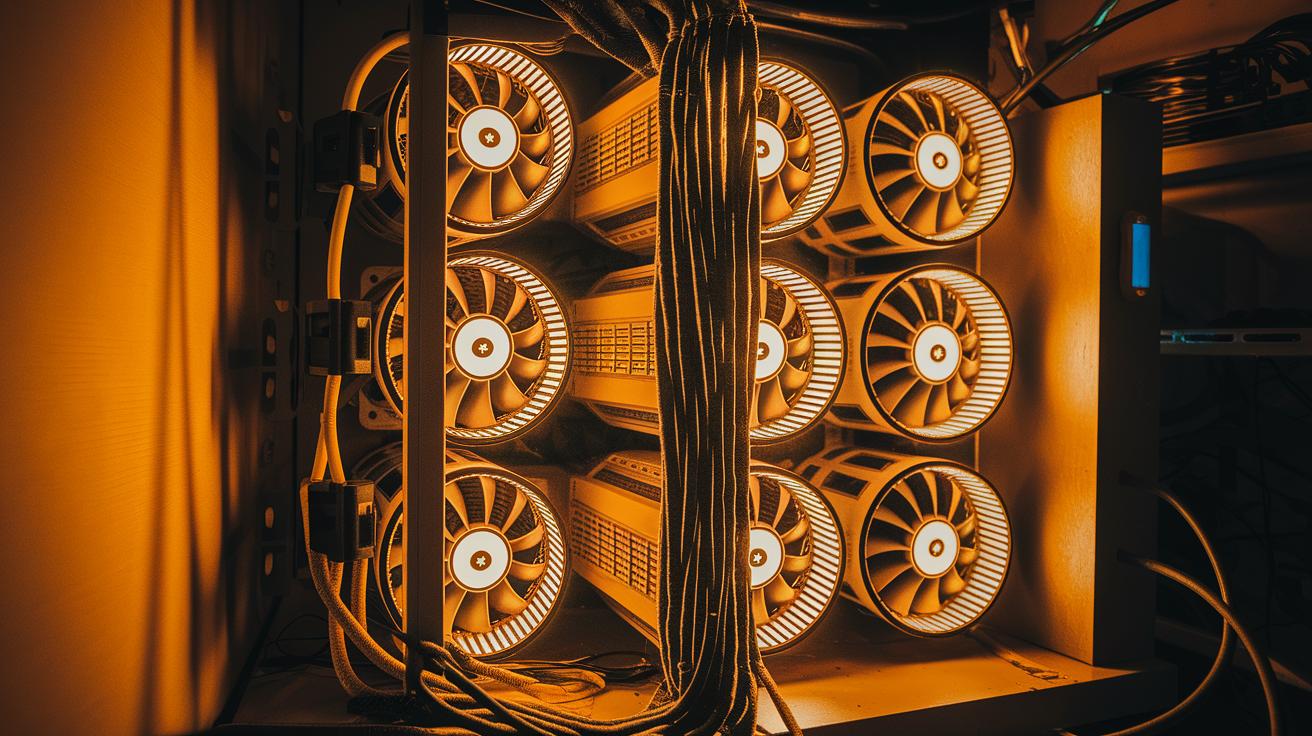
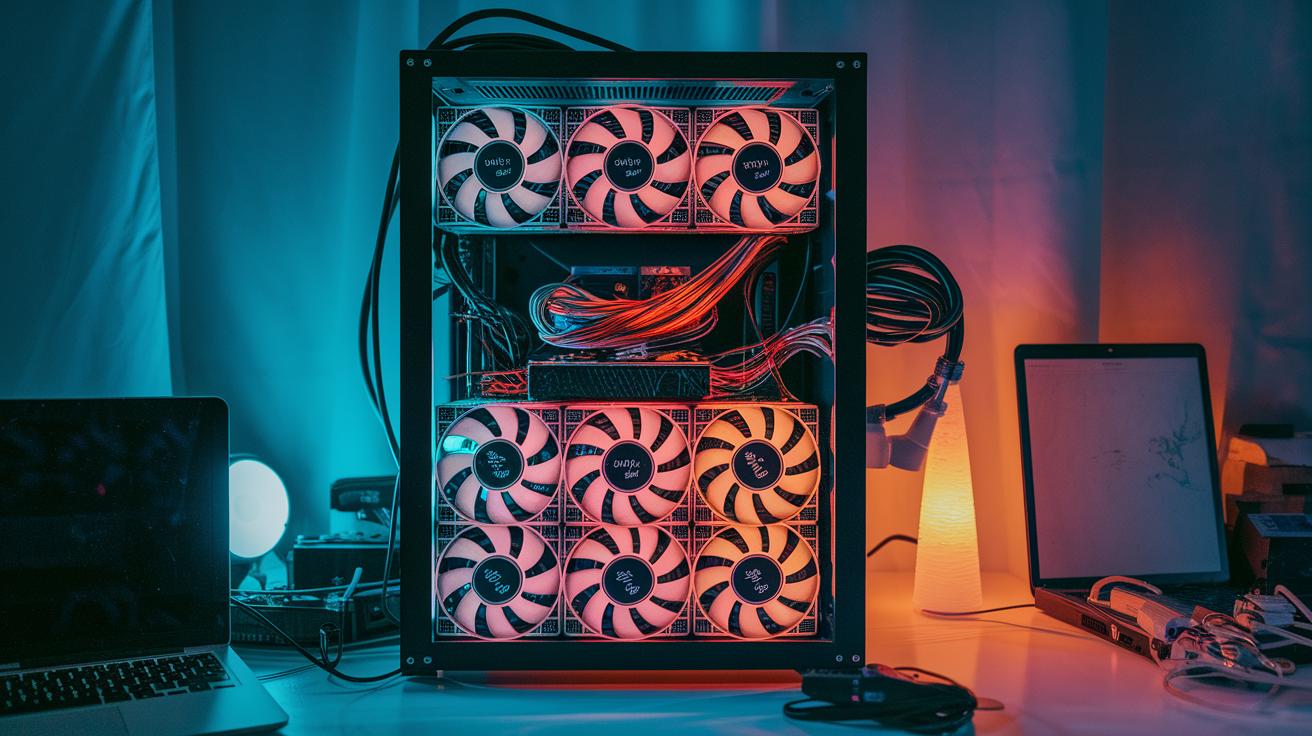
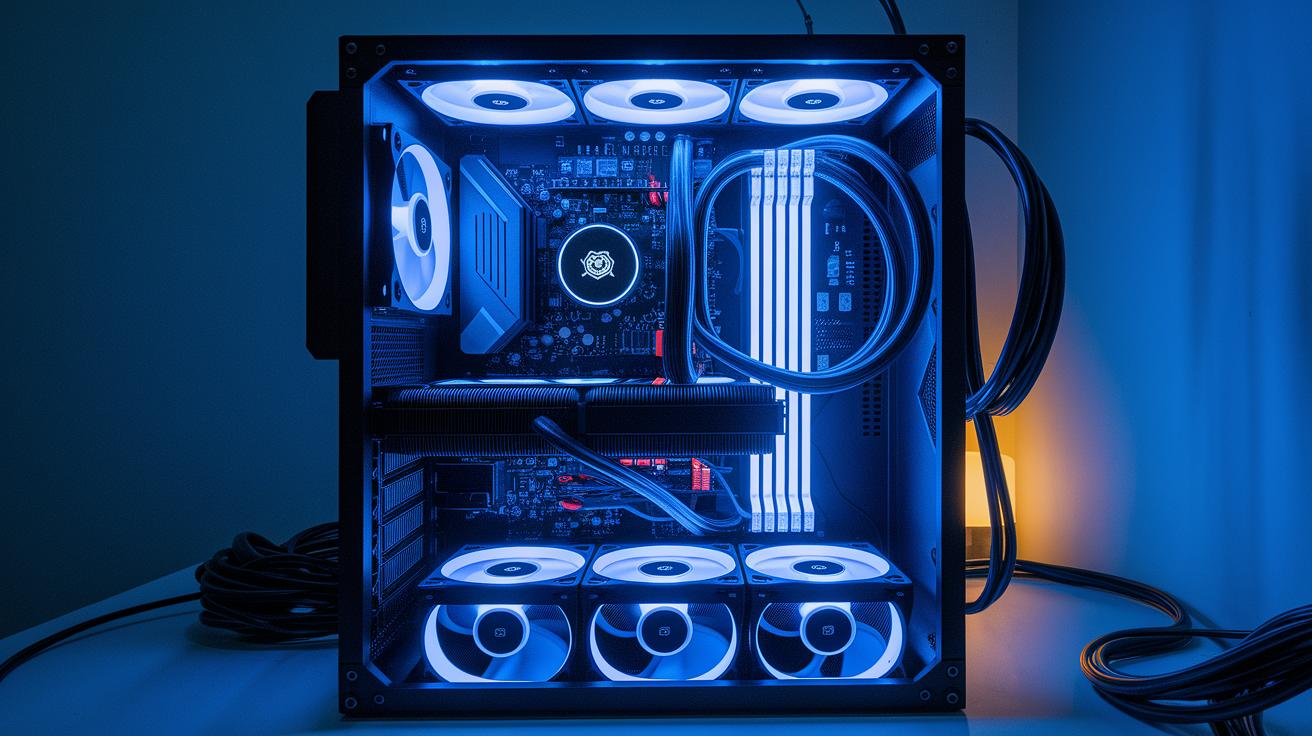
Building a mining rig is all about choosing the right parts for a smart setup and great performance. First up, high-performance GPUs are the engines of your rig. They work hard to solve complex math puzzles, with speeds of 30 to 120 MH/s (that’s how fast they crunch numbers). Picture each GPU as a powerful engine running nonstop.
Next, you need a strong motherboard with several PCIe slots. Think of it as the friendly hub that connects all your GPUs or ASIC units so they can easily share information. It makes sure everything works together smoothly.
The CPU is like the conductor of an orchestra, handling everyday tasks and keeping the whole system coordinated. Pairing it with 4 to 8 GB of RAM per GPU is a bit like having extra helpers to keep your system quick and responsive.
Then there’s the power supply unit. A good PSU should offer more power than your rig needs to ensure steady and reliable energy throughout long mining sessions. It’s like a steady heartbeat that keeps all your parts running without a hitch.
Finally, you’ll need storage such as an SSD or HDD to run your operating system and keep important data safe, ensuring your mining environment stays reliable over time.
Here's a quick list of what you'll need:
| Component | Role |
|---|---|
| High-performance GPUs | Work like engines solving math puzzles |
| Multi-slot Motherboard | Acts as a hub linking all components |
| Efficient CPU | Coordinates tasks like a conductor |
| 4-8 GB RAM per GPU | Provides extra support for quick data access |
| High-capacity PSU | Keeps everything powered with steady energy |
| Reliable SSD/HDD Storage | Stores the operating system and important data |
Each component works together, ensuring your mining rig runs efficiently and your setup feels just right.
Comparing ASIC and GPU Hardware for Mining Rigs
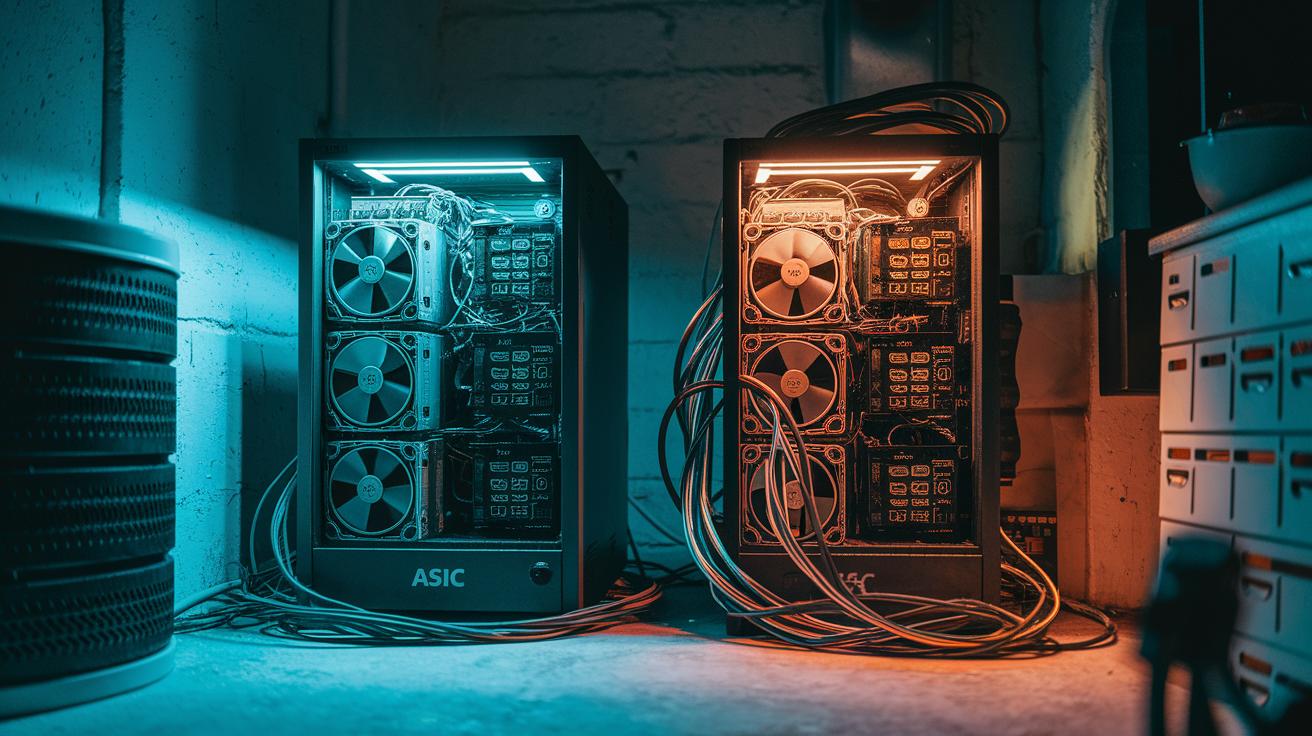
When you're choosing mining gear, it's key to compare the unique strengths of ASIC and GPU hardware based on real-world performance and everyday needs. ASIC miners are built specifically to solve SHA-256 puzzles really fast and come with built-in cooling (often using methods like hydro cooling) to handle the heat. On the other hand, GPU rigs work at speeds measured in megahashes per second (MH/s), letting you mine many different cryptocurrencies. They generally use around 250–350 W per card. Here’s a simple side-by-side look:
| Model | Hash Rate | Power Consumption | Efficiency | Noise | Price |
|---|---|---|---|---|---|
| Bitmain Antminer S21e XP Hyd | 860 TH/s | 11,180 W | 13 J/Th | 50 dB | $17,000 |
| Bitmain Antminer S21 XP+ Hyd | 500 TH/s | 5,500 W | 11 J/Th | 50 dB | $12,700 |
| Auradine Teraflux AH3880 | 600 TH/s | 8,700 W | 14.5 J/T | 35 dB | $7,800 |
| Bitdeer SealMiner A2 Pro Hyd | 500 TH/s | 7,450 W | 14.9 J/Th | 50 dB | $3,958 |
| MicroBT WhatsMiner M66S++ | 356 TH/s | 5,518 W | 15.5 J/Th | 75 dB | $8,660 |
GPU Mining Hardware
GPU rigs have earned a big following because they’re super flexible and can handle more than one task. Their performance is usually measured in megahashes per second, which shows just how well they can work on mining a bunch of different cryptocurrencies, not just Bitcoin. Plus, top brands tend to draw between 250 and 350 W of power per card. Many miners say building a GPU rig feels like putting together an all-in-one computer system that’s ready for both mining and other heavy computing tasks.
ASIC Miner Models
ASIC miners, meanwhile, are built just for Bitcoin mining by solving something called the SHA-256 algorithm (a type of digital puzzle). These machines offer really high processing speeds and come with advanced cooling systems, like hydro cooling, to manage the heat they generate. Thanks to their specialized build and focus on efficiency, using power wisely, they deliver steady, reliable performance. So if your goal is to boost your Bitcoin mining returns and you don’t need the extra versatility of a GPU rig, ASIC miners could be the way to go.
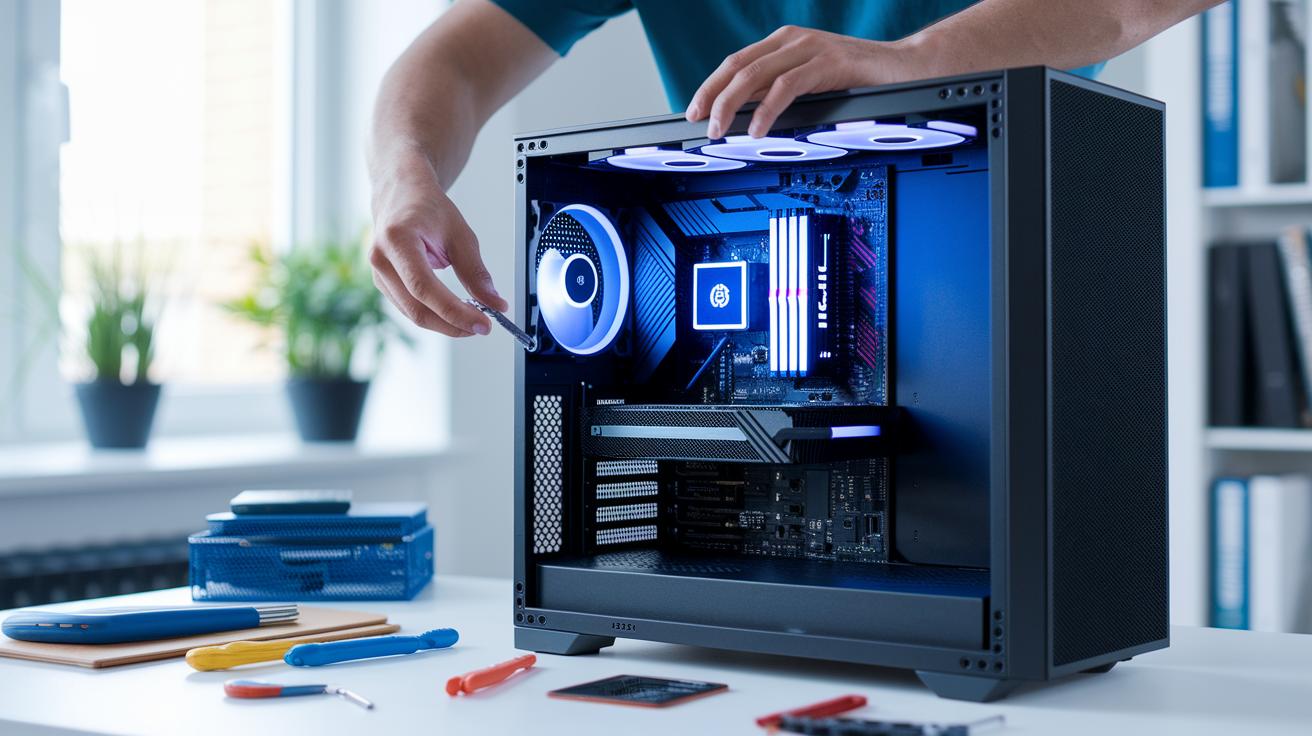
Step-by-Step Crypto Mining Rig Construction Guide
-
First, get your workspace ready. Clear off your table and set up an anti-static mat and wristband, just like you’d prepare a mini lab at home. This helps protect your components from static shocks.
-
Next, take your motherboard and carefully install the CPU, cooler, and RAM. Gently place the CPU in its socket and, if you need to, add some thermal paste before attaching the cooler. Then, insert the RAM sticks until you hear a satisfying click. A little care here makes a big difference.
-
Now, mount the motherboard in your frame or case. Make sure you use standoffs to give it proper spacing. This keeps your board safe from short circuits and helps it stay cool.
-
Then, arrange your GPUs or ASIC units using risers or brackets. Spread them out evenly so none of them overheat. Follow your setup guide’s advice to keep everything properly spaced.
-
After that, connect the PSU cables to every component. Check every connection, from the CPU and motherboard to GPUs and storage, so nothing is loose. Think of it like putting together a neat, high-tech puzzle.
-
Install your SSD or HDD and power up your rig to enter the BIOS. This first boot lets you see that your hardware is recognized properly.
-
Next, update your motherboard’s BIOS and turn on the “4G Decoding” feature. This step ensures you get the best performance and support for multiple PCIe devices.
-
Then, install an operating system optimized for mining, whether you choose Linux or Windows. Look for one that works well with mining software and drivers.
-
Set up your mining client by entering your pool’s URL and your wallet address. Follow the details your mining pool provided, like you’re following a simple recipe to mix all the ingredients.
-
Finally, test your hash rate and adjust the fan settings. Run your mining software, keep an eye on the temperatures, and fine-tune the fan speeds to ensure your rig stays cool and runs smoothly.
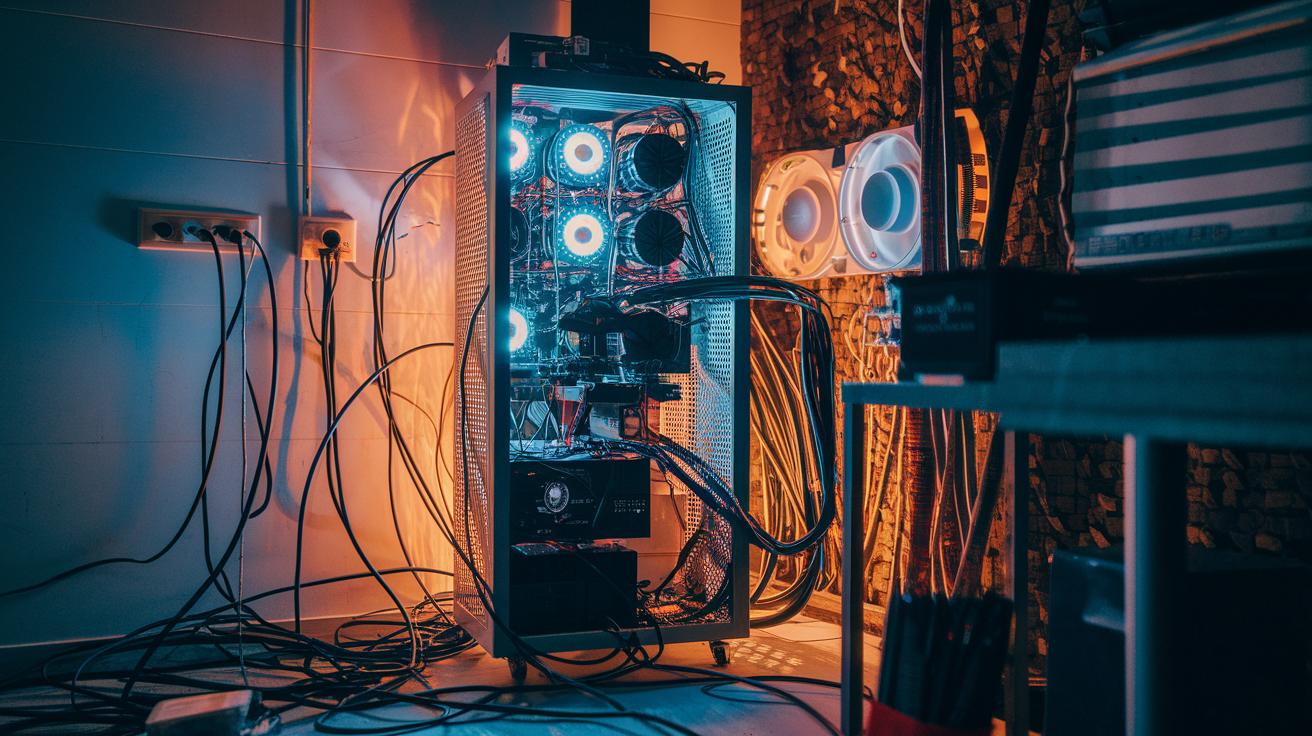
Optimizing Mining Rig Performance Through Cooling and Overclocking
When it comes to mining rigs, a smart cooling system and careful overclocking can really push your performance. Air cooling, for example, uses high-CFM fans, fans that blow a lot of air per minute, to create a strong front-to-back flow. It’s like feeling a cool breeze on a hot day, ensuring each component gets the fresh air it needs.
Hydro cooling steps it up a notch. Some ASICs (specialized computers designed to solve complex puzzles, like SHA-256 calculations) work much better when their chip temperatures drop by 20–30 °C. Think of a liquid-cooling setup as a gentle river that continuously carries heat away from sensitive parts. This method not only keeps things cooler but also lets you lower the fan speeds, which means less noise.
Adjusting the GPU cores and memory through overclocking can spike your hash rate by around 10–15%. Imagine adding a few extra gears to a finely tuned engine, that’s the boost you might see. However, keep in mind this also bumps up your power draw by about 5–10%, so always balance performance with power efficiency.
A simple yet effective step is to fine-tune your fan speeds. Keeping chip temperatures under 70 °C is key; running them hotter might harm performance and shorten their lifespan.
And then there's noise management. Running fans at lower speeds can keep noise levels around 35 dB, while the stock fans running at full power might hit up to 75 dB. By mixing these cooling and overclocking techniques thoughtfully, you can ensure your mining rig remains efficient and robust even during extended sessions.
Mining Rig Cost Analysis and ROI Factors
Mining rig investments can vary a lot. For example, you might snag a SealMiner A2 Pro for around $3,958, while a beefier model like the Antminer S21e XP could set you back over $17,000. But hardware prices are just the start. Daily running costs – especially electricity – can really add up.
Imagine your rig pulls 11,180 watts. At an electricity rate of 10 cents per kilowatt-hour, you're looking at roughly $26.83 a day. Now, if your machine uses only 5,500 watts, it might set you back about $13.20 daily. Essentially, the more energy your rig uses, the more it eats into your profits.
When you're mapping out costs, it's crucial to consider both the initial investment and those ongoing daily expenses. A mining profitability calculator can be super helpful here. Just plug in your rig’s price, your local power rate, and a few other details to get a clear picture of everything. It's like watching a heartbeat monitor for your mining operation, where every watt and expense tells part of the story.
Several key factors can sway your return on investment. For instance:
| Factor | Impact |
|---|---|
| BTC Price Fluctuations (how much BTC is worth) | Directly affects profitability – higher prices often mean better returns |
| Network Difficulty (how hard it is to mine successfully) | Can either boost or reduce your mining rewards |
| Pool Fee Structures | These fees take a slice of your rewards |
| Hardware Depreciation | Reduces the value of your rig over time, affecting ROI |
By breaking down these costs and variables, you can better predict when your rig might start turning a profit. Keeping an eye on energy consumption and power costs is key, ensuring that your setup remains efficient and that your return on investment stays as healthy as possible.
Mining Rig Troubleshooting and Maintenance for Long-Term Operation
Even the most solid mining rigs can hit a few bumps. You might run into BIOS conflicts, issues with GPU driver errors, or unexpected crashes when overclocking. Regular checkups and a hands-on maintenance routine can help keep your gear running like clockwork.
Sometimes, updating your firmware can lead to a BIOS conflict. Manufacturers drop these updates to bump performance and system stability, so keeping your rig current helps avoid hiccups. GPU driver errors also pop up often. Usually, a fresh install of the drivers or tweaking the overclock settings fixes the problem. I once noticed a clear jump in my system's hash rate after I reinstalled my GPU drivers following an update.
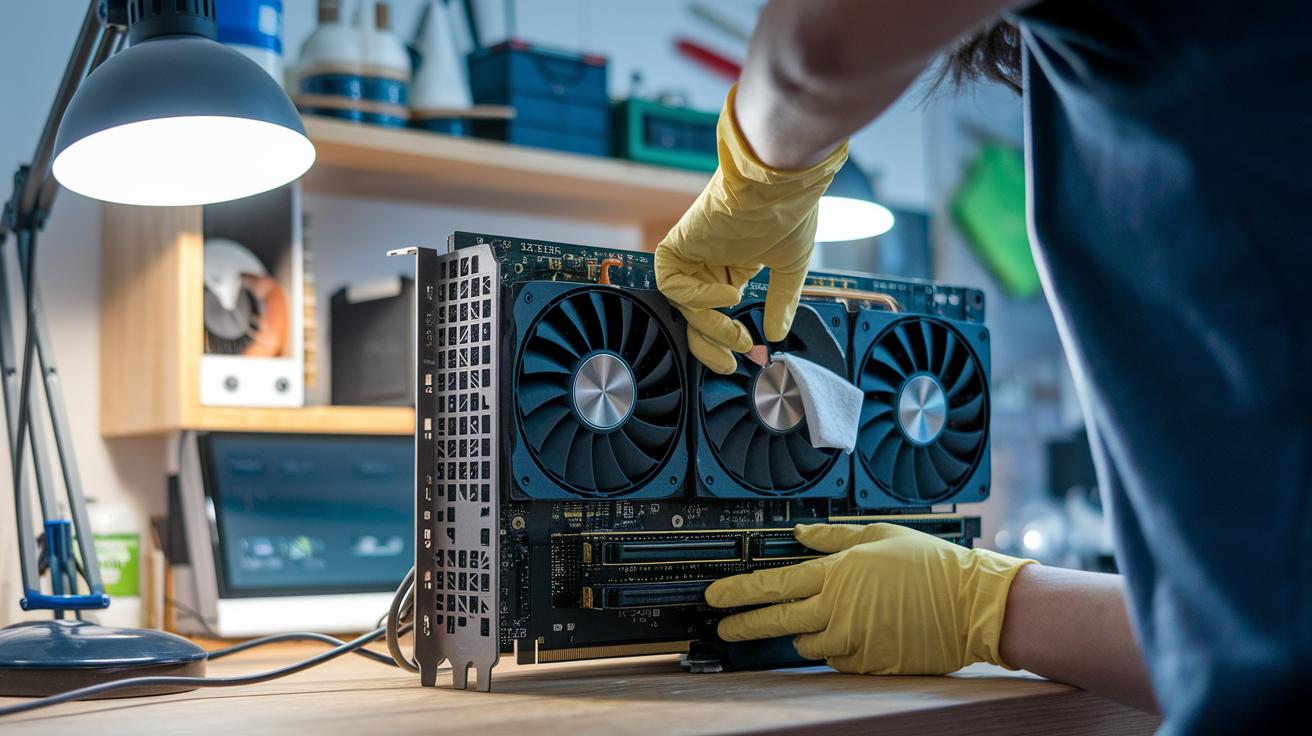
Don’t forget about cleaning. Dust can settle on filters and heatsinks, chipping away at your hardware's lifespan. Cleaning every six to twelve weeks is a smart move. And when you’re doing any maintenance, be sure to follow anti-static guidelines. This simple step prevents any accidental damage to the boards. Running a stress test every three months is a great way to spot issues before they become big problems.
Here’s an easy checklist to follow:
| Step | Action |
|---|---|
| 1 | Check and update firmware and drivers |
| 2 | Clean dust from filters and heatsinks every 6–12 weeks |
| 3 | Perform quarterly stress tests |
| 4 | Follow anti-static precautions during maintenance |
By taking these steps, you'll help your mining rig stay in top shape and continue working reliably over time.
Future-Proof Mining Rig Design and Market Trends
New mining rigs are stepping up with smart design and impressive performance. Models like the Antminer S21 XP+ Hyd coming in July 2025 and the Teraflux AH3880 expected in March 2025 bring you energy savings of about 11 joules per terahash (a unit of energy used in mining) and run quietly at under 35 decibels. This means they deliver great output while keeping noise and energy use low – something many miners are starting to value more.
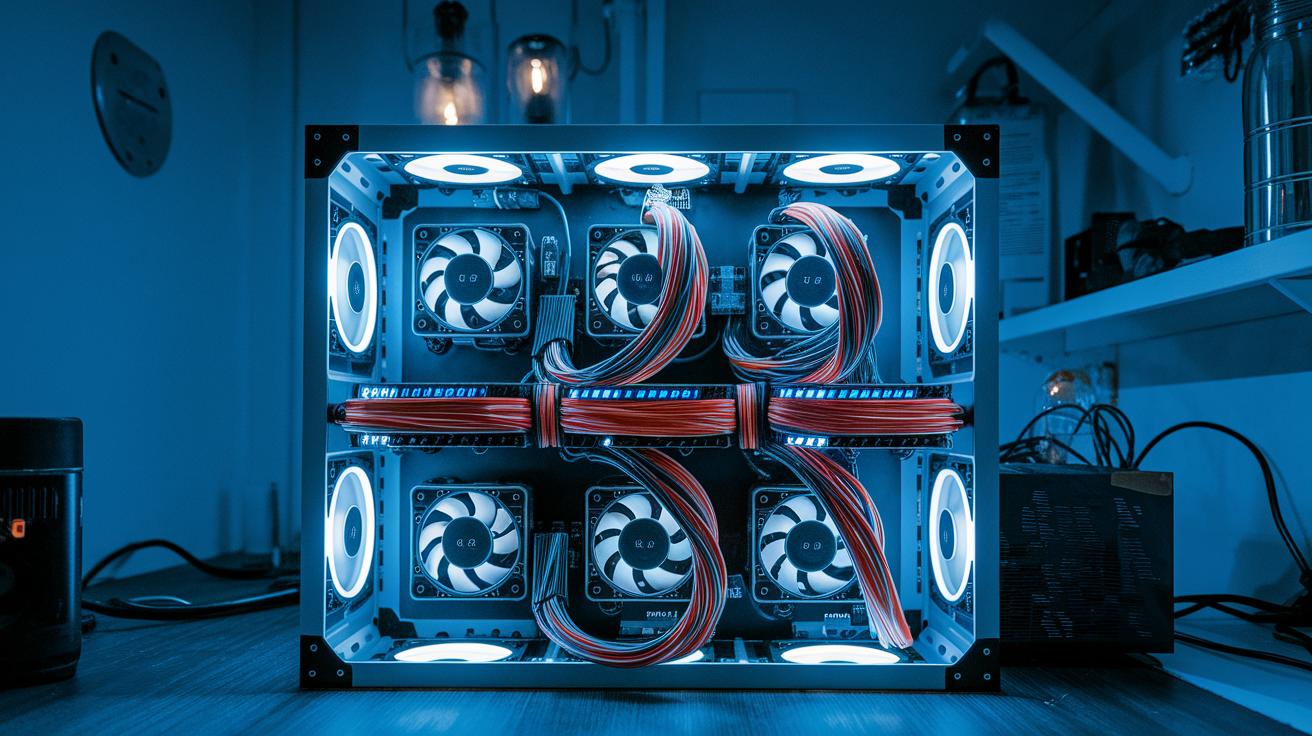
Modular frame designs are a real breakthrough. They let you quickly expand your system from 4 to 8 GPUs in just minutes. Picture it like snapping your fingers and doubling your mining power – an ideal setup for home miners who prefer to scale up gradually without hauling in new equipment all at once.
Cloud mining is another cool option. Instead of buying expensive hardware, you can rent remote hash power. This approach makes managing risk and budgets a lot easier. Just remember that the mining pool you choose and its fees will directly impact your rewards, so picking the right pool is key.
Market forecasts now suggest that energy costs might climb around 15% by 2026. This reality highlights why power efficiency is becoming more critical than ever. In short, smart choices today could lead you to a future-proof mining operation that stands strong no matter what changes the market brings.
Final Words
In the action, we covered what a mining rig is and how its hardware and evolution shape today’s crypto mining. We broke down essential components, compared ASIC and GPU performance, and offered a step-by-step guide to building, cooling, and overclocking your setup. The discussion even touched on cost analysis, ROI factors, and smart troubleshooting practices. All of this helps you feel more confident while making informed investment decisions around your mining rig. Keep exploring these insights for a brighter, more stable venture ahead.

