Ever wonder if digital payments seem trickier than they really are? I used to think so until I set up my Apple Pay account and discovered how simple and secure it is. In this post, I'll show you how to add your card with just a few taps, get a quick check from your bank, and manage your money easily. Picture your finances working like a smooth switch that you can turn on with a simple flip, always ready and reliable when you pay. Keep reading to see how easy it is to set up and stay in control of your funds.
Setting Up Your Apple Pay Account on Your Apple Devices
First, sign in using your Apple ID or your work login. This simple step gets you started on your Apple Pay journey. I remember when I did it, and it felt smooth and secure right off the bat.
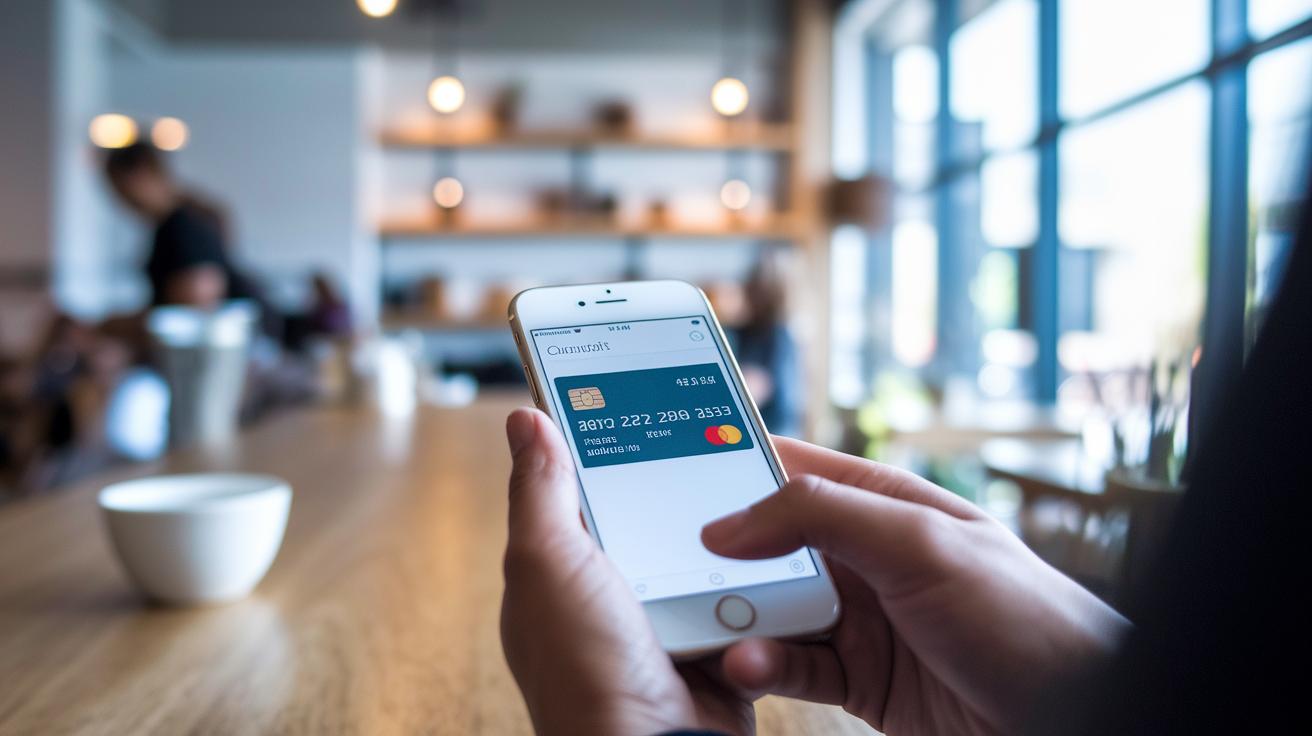
Next, open the Wallet app on your iPhone, iPad, Apple Watch, or Mac and tap "Add Card." Here, you can either use your iSight camera to quickly scan your card or choose to enter your card details by hand. It’s really straightforward, whether you’re in a hurry or prefer to type everything in.
After you add your card info, Apple checks it with your bank to make sure everything lines up. During this secure process, you might see a routing number pop up (for instance, 113122655 if you’re using Apple Cash). Plus, Wallet lets you know your funds are safe, protected by FDIC insurance, that’s a kind of safety net backed by the U.S. Government.
Once your details are verified, your device shows simple pairing instructions. This means you can start making contactless payments almost immediately. At this point, your account is not only ready to go but also secure, giving you a smooth, friendly experience every time you use Apple Pay.
Integrating Bank and Credit Cards into Your Apple Pay Account
Getting started is a breeze. Open your Wallet app, tap on "Add Card," and then choose "Debit or Credit Card." You can either use your iSight camera to scan your card or manually type in the card details. This quick setup works with big networks like Visa and Mastercard, including those from Prosperity Bank.
Once you enter your card information, your bank or card issuer reviews it. When they give the green light, your card is tokenized, meaning your real card numbers are swapped out for a unique code to keep your data safe. After that, your card pops up in your Wallet and is ready for everyday use wherever Apple Pay is accepted worldwide.
You can also set one card as your default to speed up transactions. And if you’ve got multiple cards, you can easily drag and drop them to reorder as you like, so your go-to card is always right at the front.
Consider these simple steps:
- Open Wallet and tap "Add Card"
- Choose to scan your card or enter its details manually
- Wait for your issuer to approve and tokenize your card data
- Set a default card and rearrange your cards if needed
For instance, when you scan your credit card, you'll see just how quickly Apple Pay picks up the info and secures it. This hassle-free, cross-platform experience means you can use your card at home or abroad without worrying about foreign transaction fees under Mastercard’s benefits.
apple pay account: Smooth Setup & Secure Control
Apple Pay makes sure your actual card numbers never leave your device or get stored on any servers. Instead, every time you make a purchase, it uses its own unique device number along with a special security code that changes every time, kind of like a one-use key that opens just one door.
When you pay, your approval comes from using things like Touch ID or Face ID. Think of it like signing your name with your fingerprint, which means only you can give the go-ahead. And if those biometric options aren’t available, your device passcode steps in to keep things safe.
Your Apple ID uses two-factor authentication to double-check any account changes, adding another layer of protection. For those in the corporate world, there’s a secure sign-in option built to meet business needs with rock-solid identity safeguards. Even if one step might slip, the other checks keep your account locked down.
Every part of this process, from the advanced security setups to tokenization (a method that replaces sensitive data with unique symbols), works together like a relay race. Everything is designed so you can make digital payments easily while keeping your financial details safe and under your control.
Troubleshooting Common Issues with Your Apple Pay Account
Apple Pay usually works just fine, but sometimes little hiccups occur. You might see messages like "Unable to Verify Card" or "Transaction Failed," which can really slow you down when you're trying to buy something.
A smart first step is to update your device's operating system. Many folks find that once they've upgraded, their payment troubles vanish. If the issue sticks around, try restarting your device since a simple reboot can clear out temporary glitches. Sometimes, taking your card out of Apple Pay and adding it back is all it takes. And remember, a solid internet connection is key, if your network is spotty, it might be why your card is being rejected.
If you run into lockout troubles, navigate to Settings > Wallet & Apple Pay > Help, or drop by iforgot.apple.com for assistance.
Here are a few easy steps to try:
| Step | What to Do |
|---|---|
| 1 | Update your iOS to the newest version |
| 2 | Restart your device |
| 3 | Remove and then re-add your card |
| 4 | Make sure your network is strong |
Following these simple fixes should have you back to smooth, secure digital payments in no time.
apple pay account: Smooth Setup & Secure Control
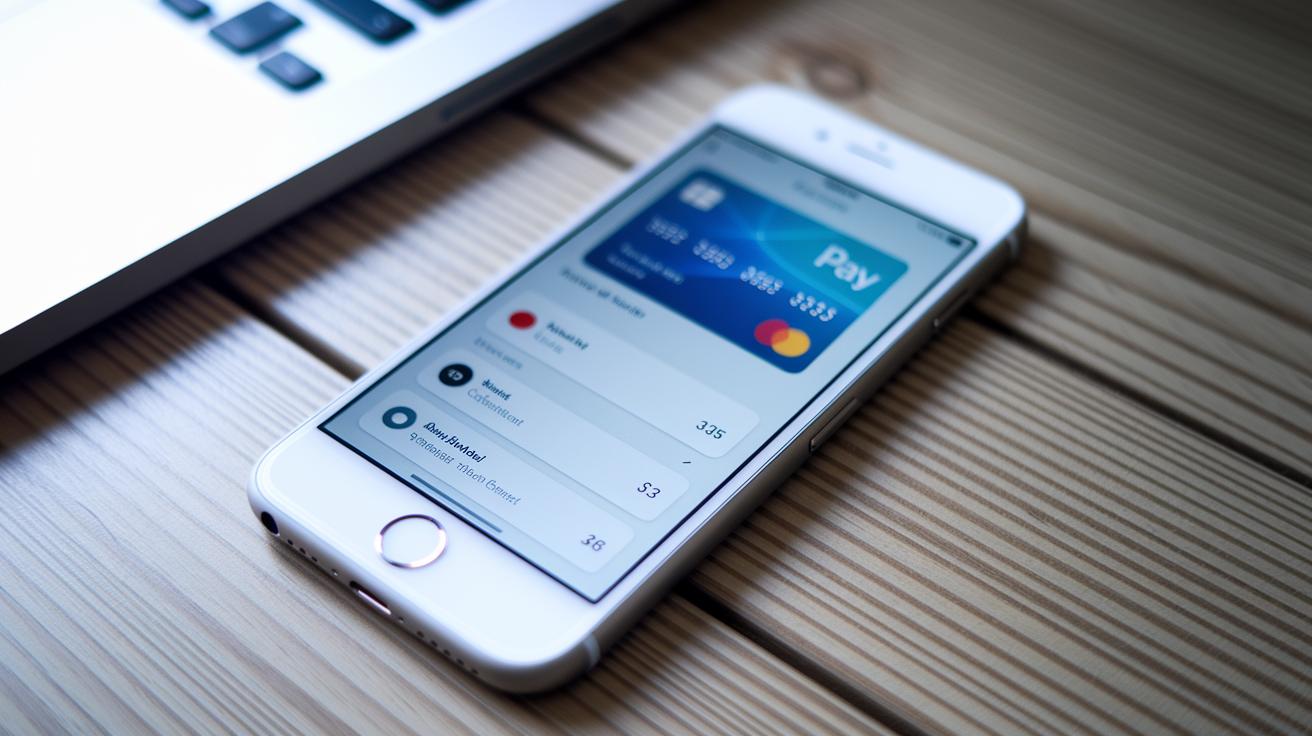
Managing your Wallet is really easy and clear-cut. You can quickly set your main card with a few taps and rearrange your cards to match your usual spending. Activating a virtual card is as simple as scanning or typing in your card details, so you can get on with your day without any stress.
Apple Cash lets you send and receive money just like handing cash to a friend. And if you’d rather see your funds grow, you can transfer your balance to your bank. Many users even say using Apple Cash is as quick and satisfying as ticking off a daily chore, making every transaction feel safe.
With the Apple Card, rewards come as a bonus. You earn 3% back on Apple purchases, 2% on Apple Pay transactions, and 1% on other buys. Plus, Wallet keeps a digital record of each purchase and shows you weekly spending summaries so you can easily check on your expenses.
Recurring subscriptions are handled just as simply. Monthly or yearly payments are tracked like setting a reminder, which makes managing your bills smooth and secure.
Account Recovery, Support Channels, and Advanced Settings for Apple Pay
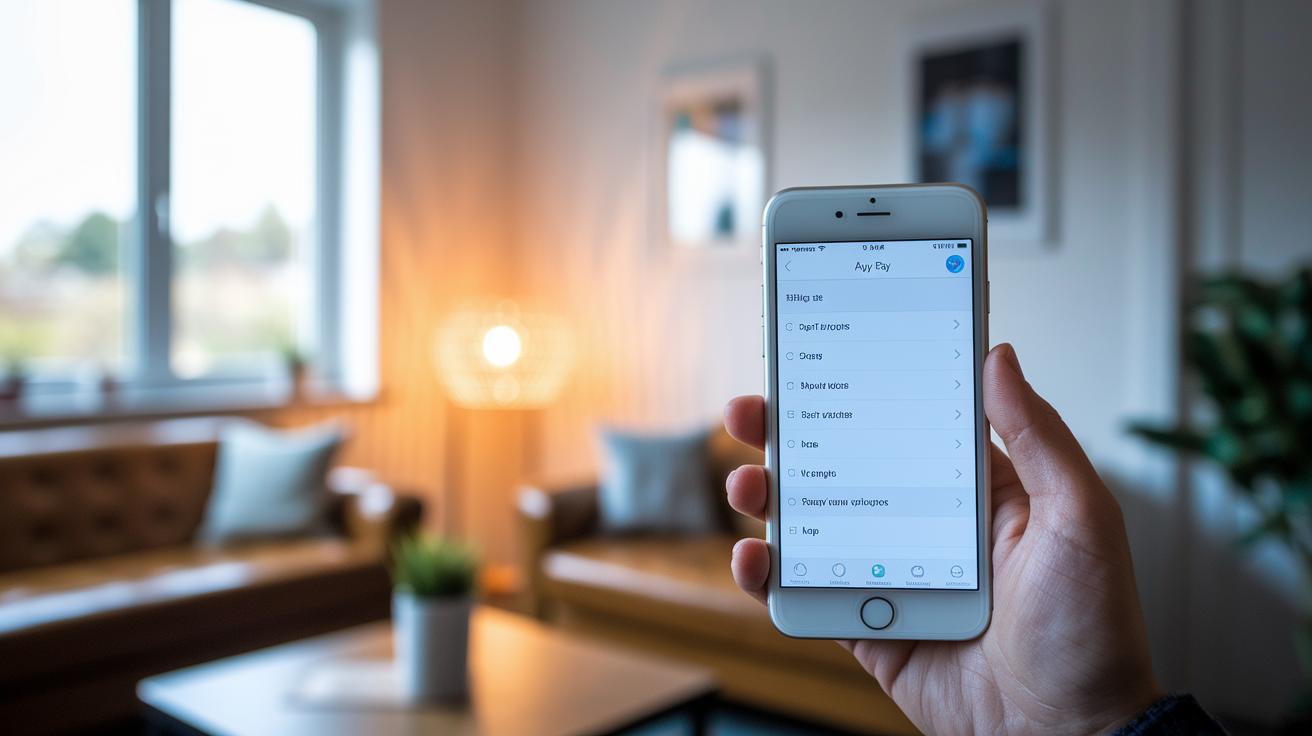
If you're having trouble with Apple Pay, you can easily fix it by resetting your Apple ID password at iforgot.apple.com. Just head to Settings then Wallet & Apple Pay, where you can update your cards or change your passcode if things aren’t working right. And if you lose your device, using Find My lets you wipe it remotely to quickly protect your sensitive information.
When you need to regain access or sort out a temporary suspension, try these simple steps:
- Open your device's Settings.
- Go to Wallet & Apple Pay to update settings or remove a card.
- Visit iforgot.apple.com to reset your password if you get locked out.
- If your device is lost, use Find My to wipe it remotely.
Need more help? You can always reach out to Apple Support or even book a Genius Bar appointment. These support tools and remote management options work together to solve issues fast, keeping your Apple Pay secure and hassle-free.
Final Words
In the action, we covered how to create your apple pay account across various devices, from registration with your Apple ID to adding bank and credit cards. We also looked at security steps like biometric checks and identity verification along with fixes for common issues. Plus, we handled managing payments and account recovery options for smooth, daily use.
Your clear guide should help you enjoy a secure, user-friendly digital payment setup with your apple pay account.
FAQ
How can I create and access my Apple Pay account?
The Apple Pay account setup starts by signing in with your Apple ID in the Wallet app. You add a card using your phone’s camera or by entering details manually, then verify it with your bank.
How do I view my Apple Pay transactions and manage my account settings?
The Apple Pay account details and transaction history are found in the Wallet app. Tapping on your card displays transactions and settings for managing your digital payments.
How can I edit my Apple Pay account details?
The Apple Pay account is editable via the Wallet & Apple Pay settings. You can update cards, change your default payment, and adjust security options within your device.
How can I check my Apple Pay account balance and card information?
The Apple Pay account balance, such as for Apple Cash, shows in the Wallet app, while your actual card numbers remain tokenized for added protection and security.
How is my Apple Pay account secured?
The Apple Pay account is secured by biometrics like Touch ID or Face ID, using device-specific numbers and dynamic security codes. Two-factor authentication also protects any account changes.
What should I do if I encounter issues with Apple Pay?
The Apple Pay troubleshooting process involves updating your iOS, restarting your device, or re-adding your card. If you’re locked out, check Settings > Wallet & Apple Pay > Help or visit iforgot.apple.com.
How can I manage multiple cards and use features like Apple Cash?
The Apple Pay Wallet lets you add and reorder multiple cards, designate a default payment method, view digital receipts, and track spending summaries. Apple Cash also supports peer-to-peer fund transfers.
How do I recover my Apple Pay account if I lose access?
The Apple Pay account recovery process starts with resetting your Apple ID password at iforgot.apple.com. You can also manage settings in Wallet & Apple Pay or use Find My to remove cards remotely.

